Photography: Learning the Orange and Teal Technique
Hi guys, I was able to check on @rymndbmgt's blog and saw he shared a post-processing process for his photographs that's quite fascinating to a person's sight. It's the "Orange and Teal" style, it's called that primarily because the main colors on photos are oranges and teals. You can view his post here. @rymndbmgt is actually someone I invited over to Steemit from Facebook. We do not know each other personally but we had 3 things in common that lead us here: Photography, a Fujifilm X-A3, and we're both members of the Fujifilm X-A3 enthusiast group in Facebook. Other than that, he's a talented guy, enthusiastic, and was curious about this platform.
His post tackled the technique using Adobe Lightroom, but I don't have Lightroom. I'm only a Photoshop user, I did research on it and found a helpful blog that offers Photoshop Actions for free (they're like presets); but to my surprise, @rymndbmgt shared the steps that I should use in Photshop. So here I am tonight, sharing a few photos following his guide and adding some enhancements of my own.
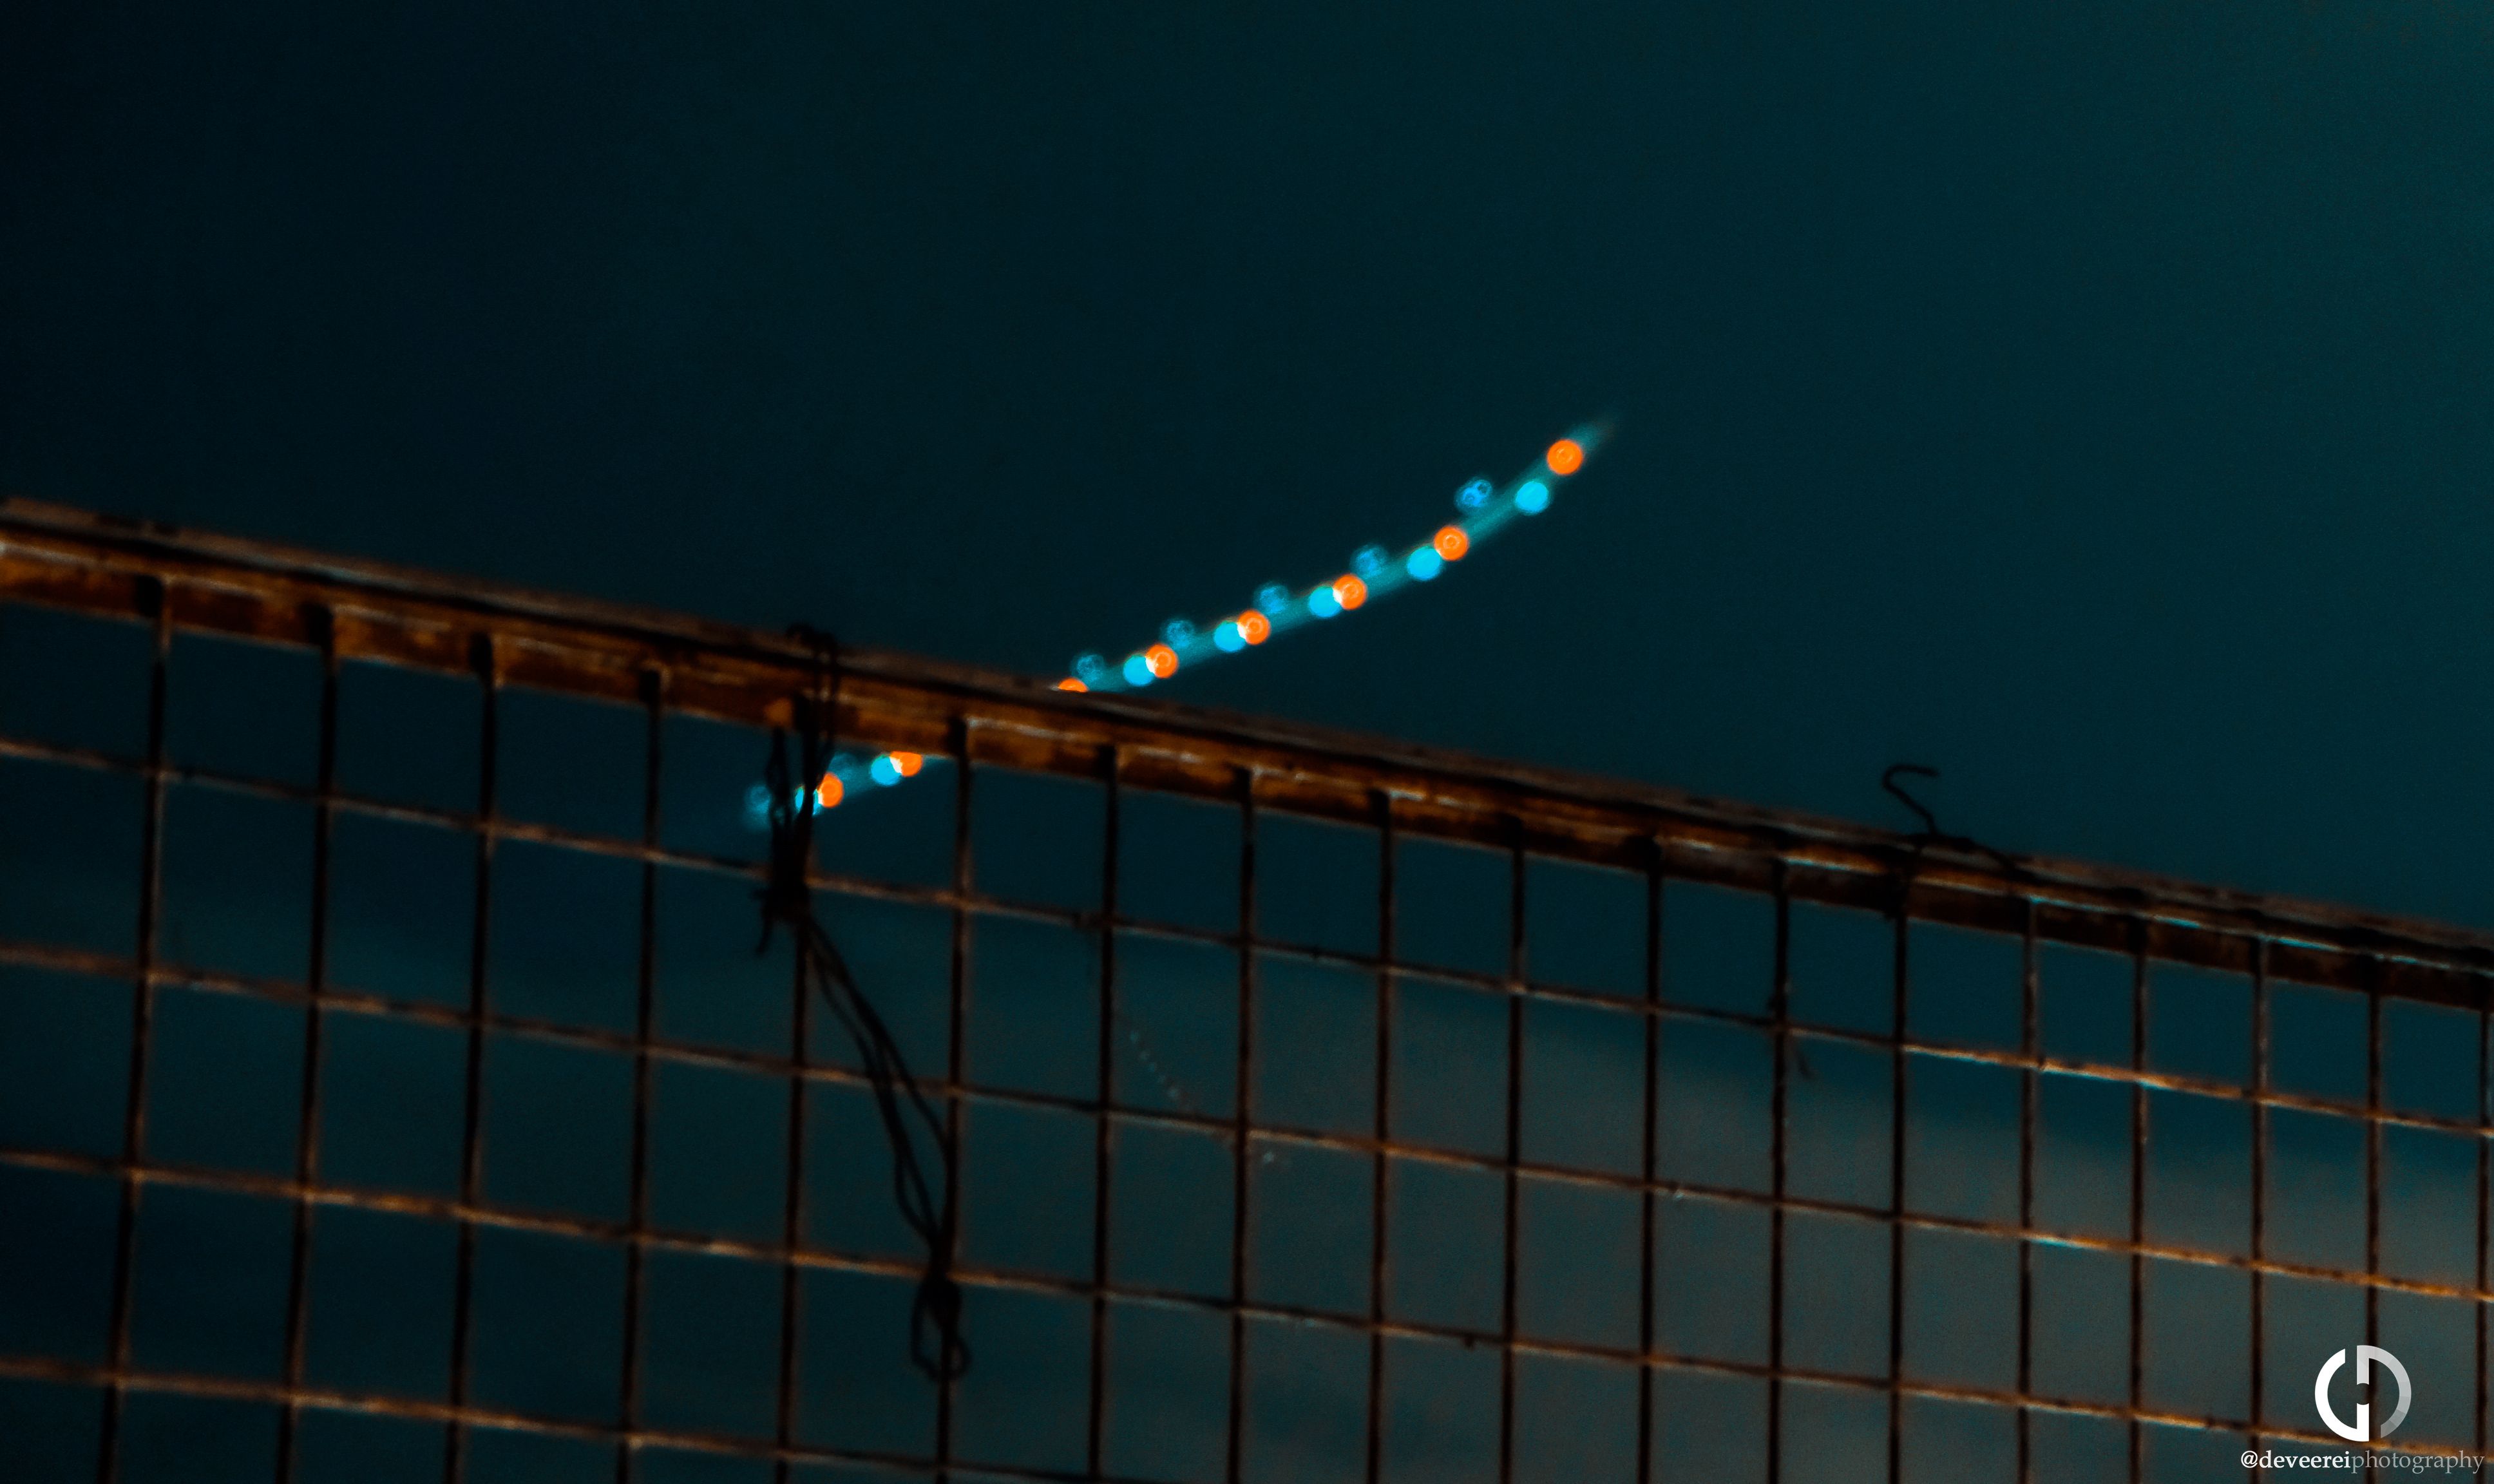
I will be sharing the before and after photos here for you to see the differences between them. Let's start off with the photo above, it's a long-exposure shot of a plane taking off, leaving light streaks along the way. It's also a photo of a fence and here's what it looked like before editing, straight out of the camera:
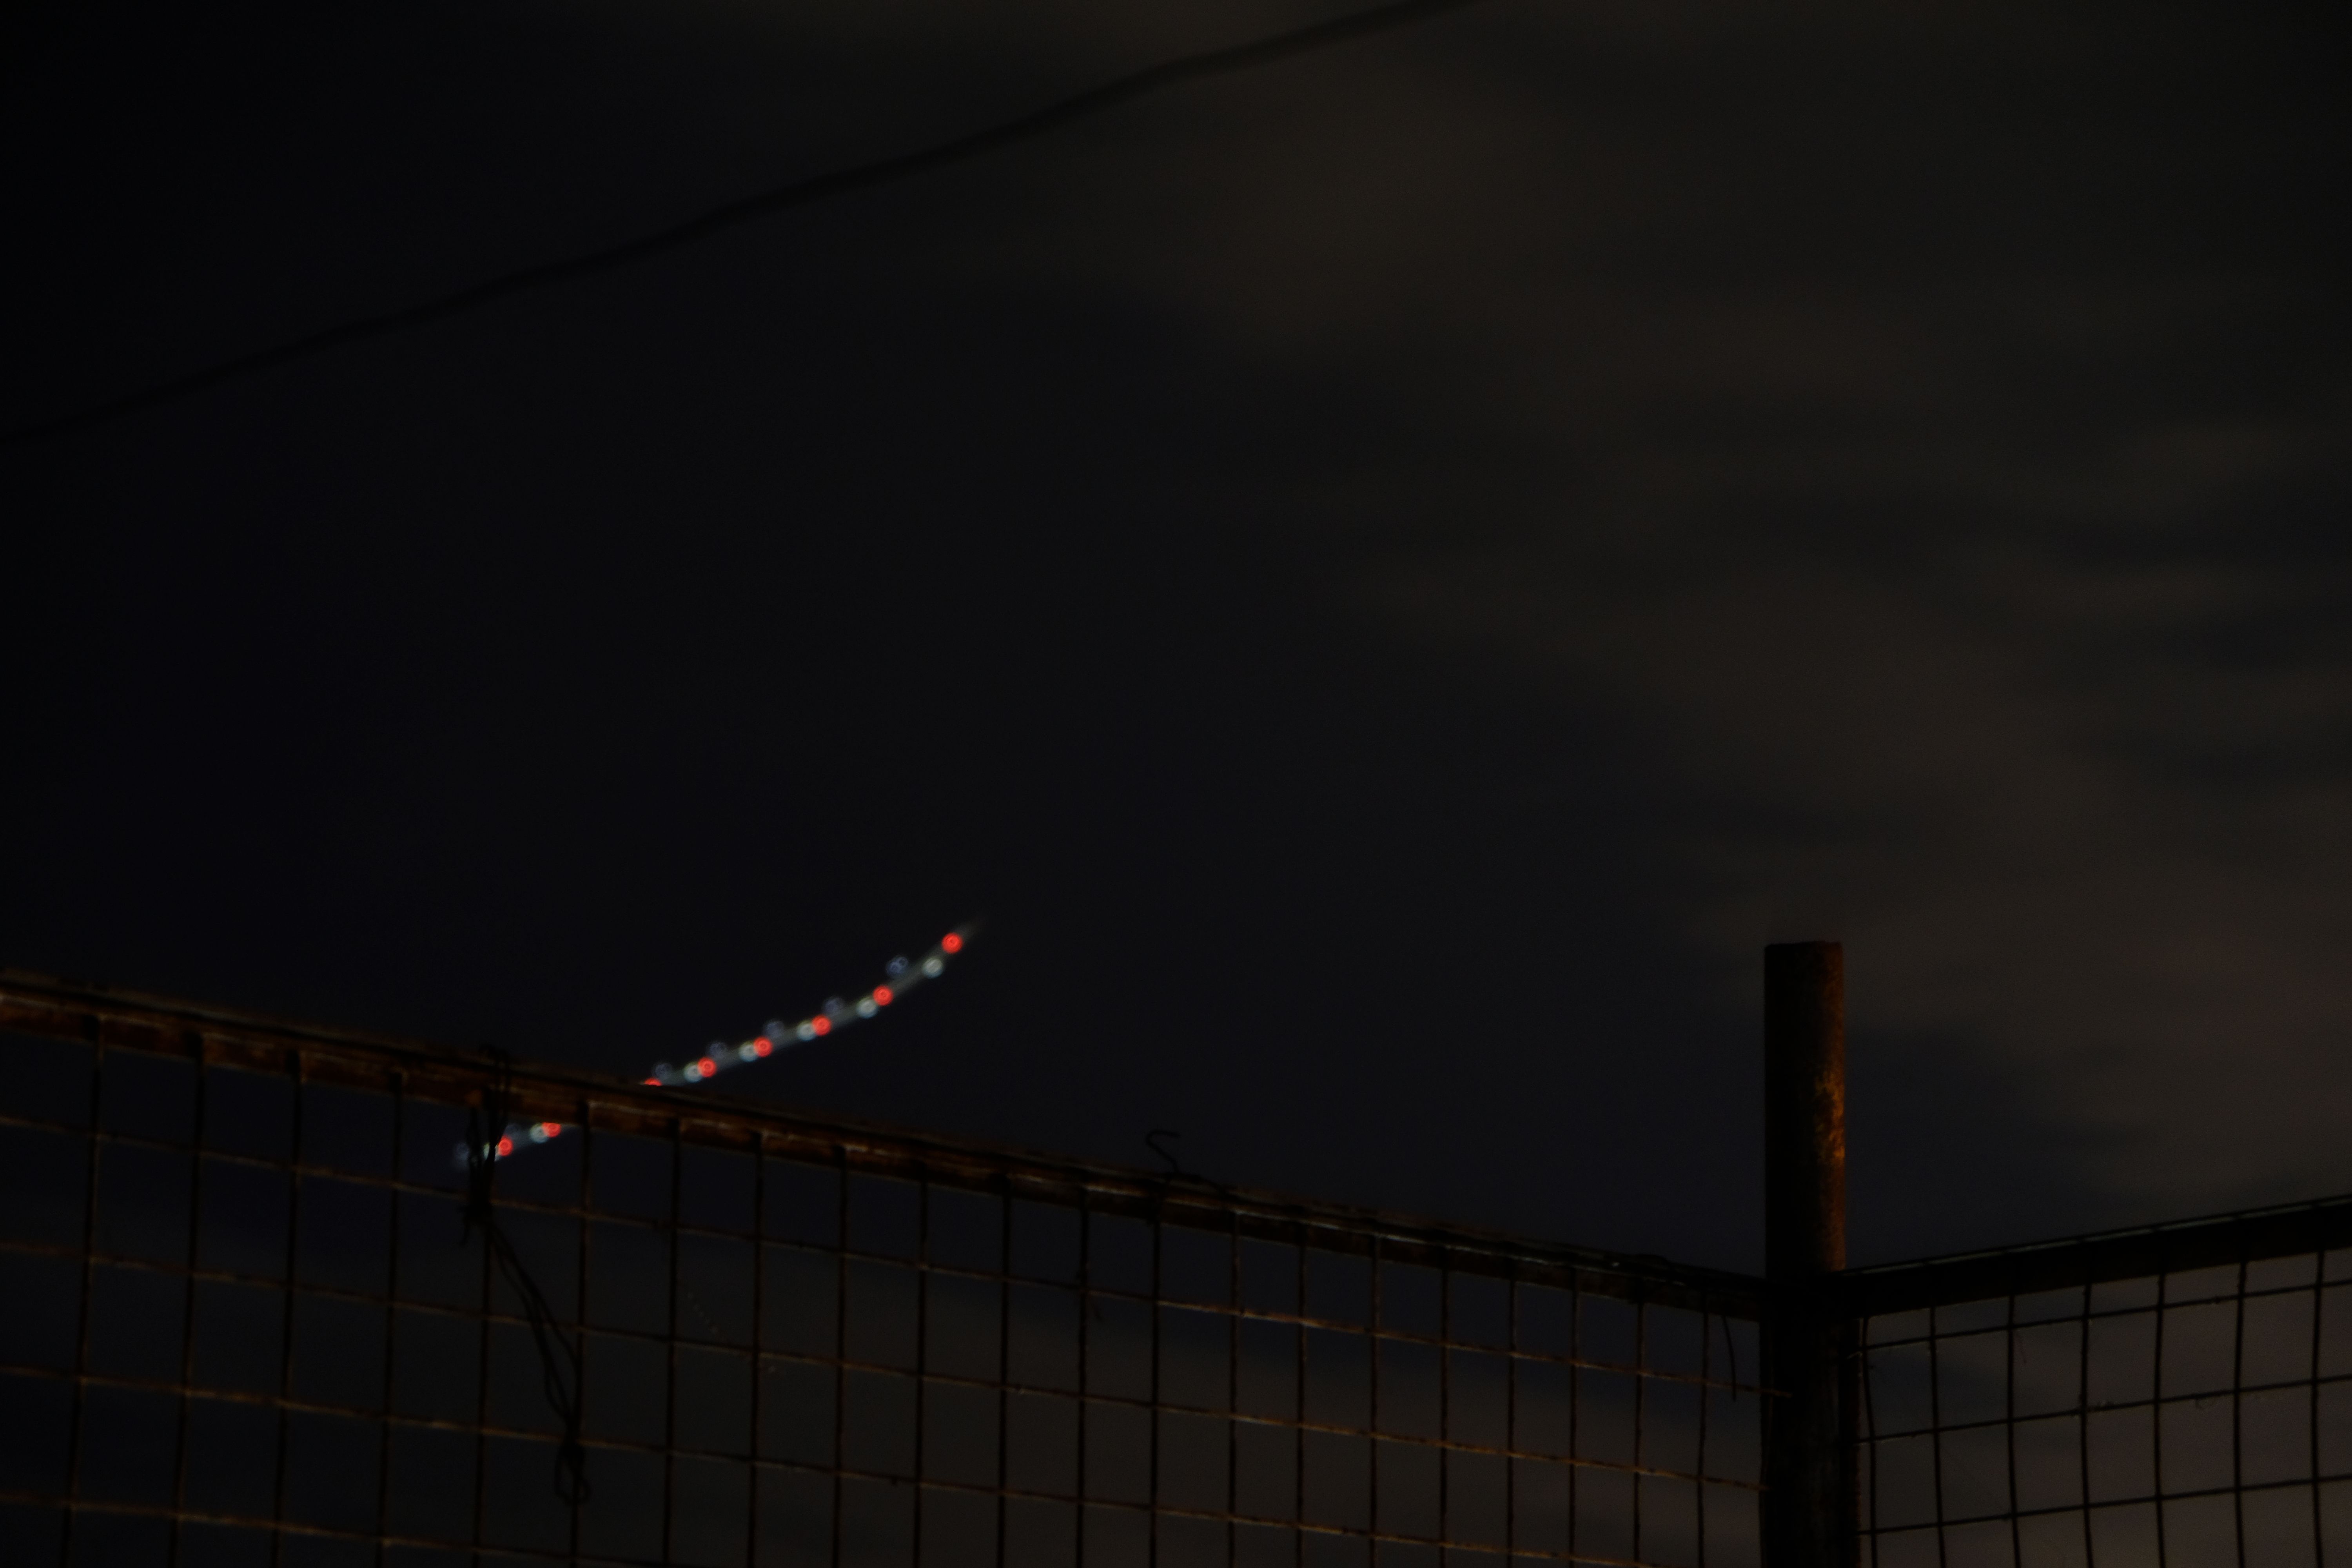
The edited photo has been cropped to showcase the light streaks left by the plane. My camera focused on the fence rather than the plane though, it was actually on manual focus, so blame it on me for that.
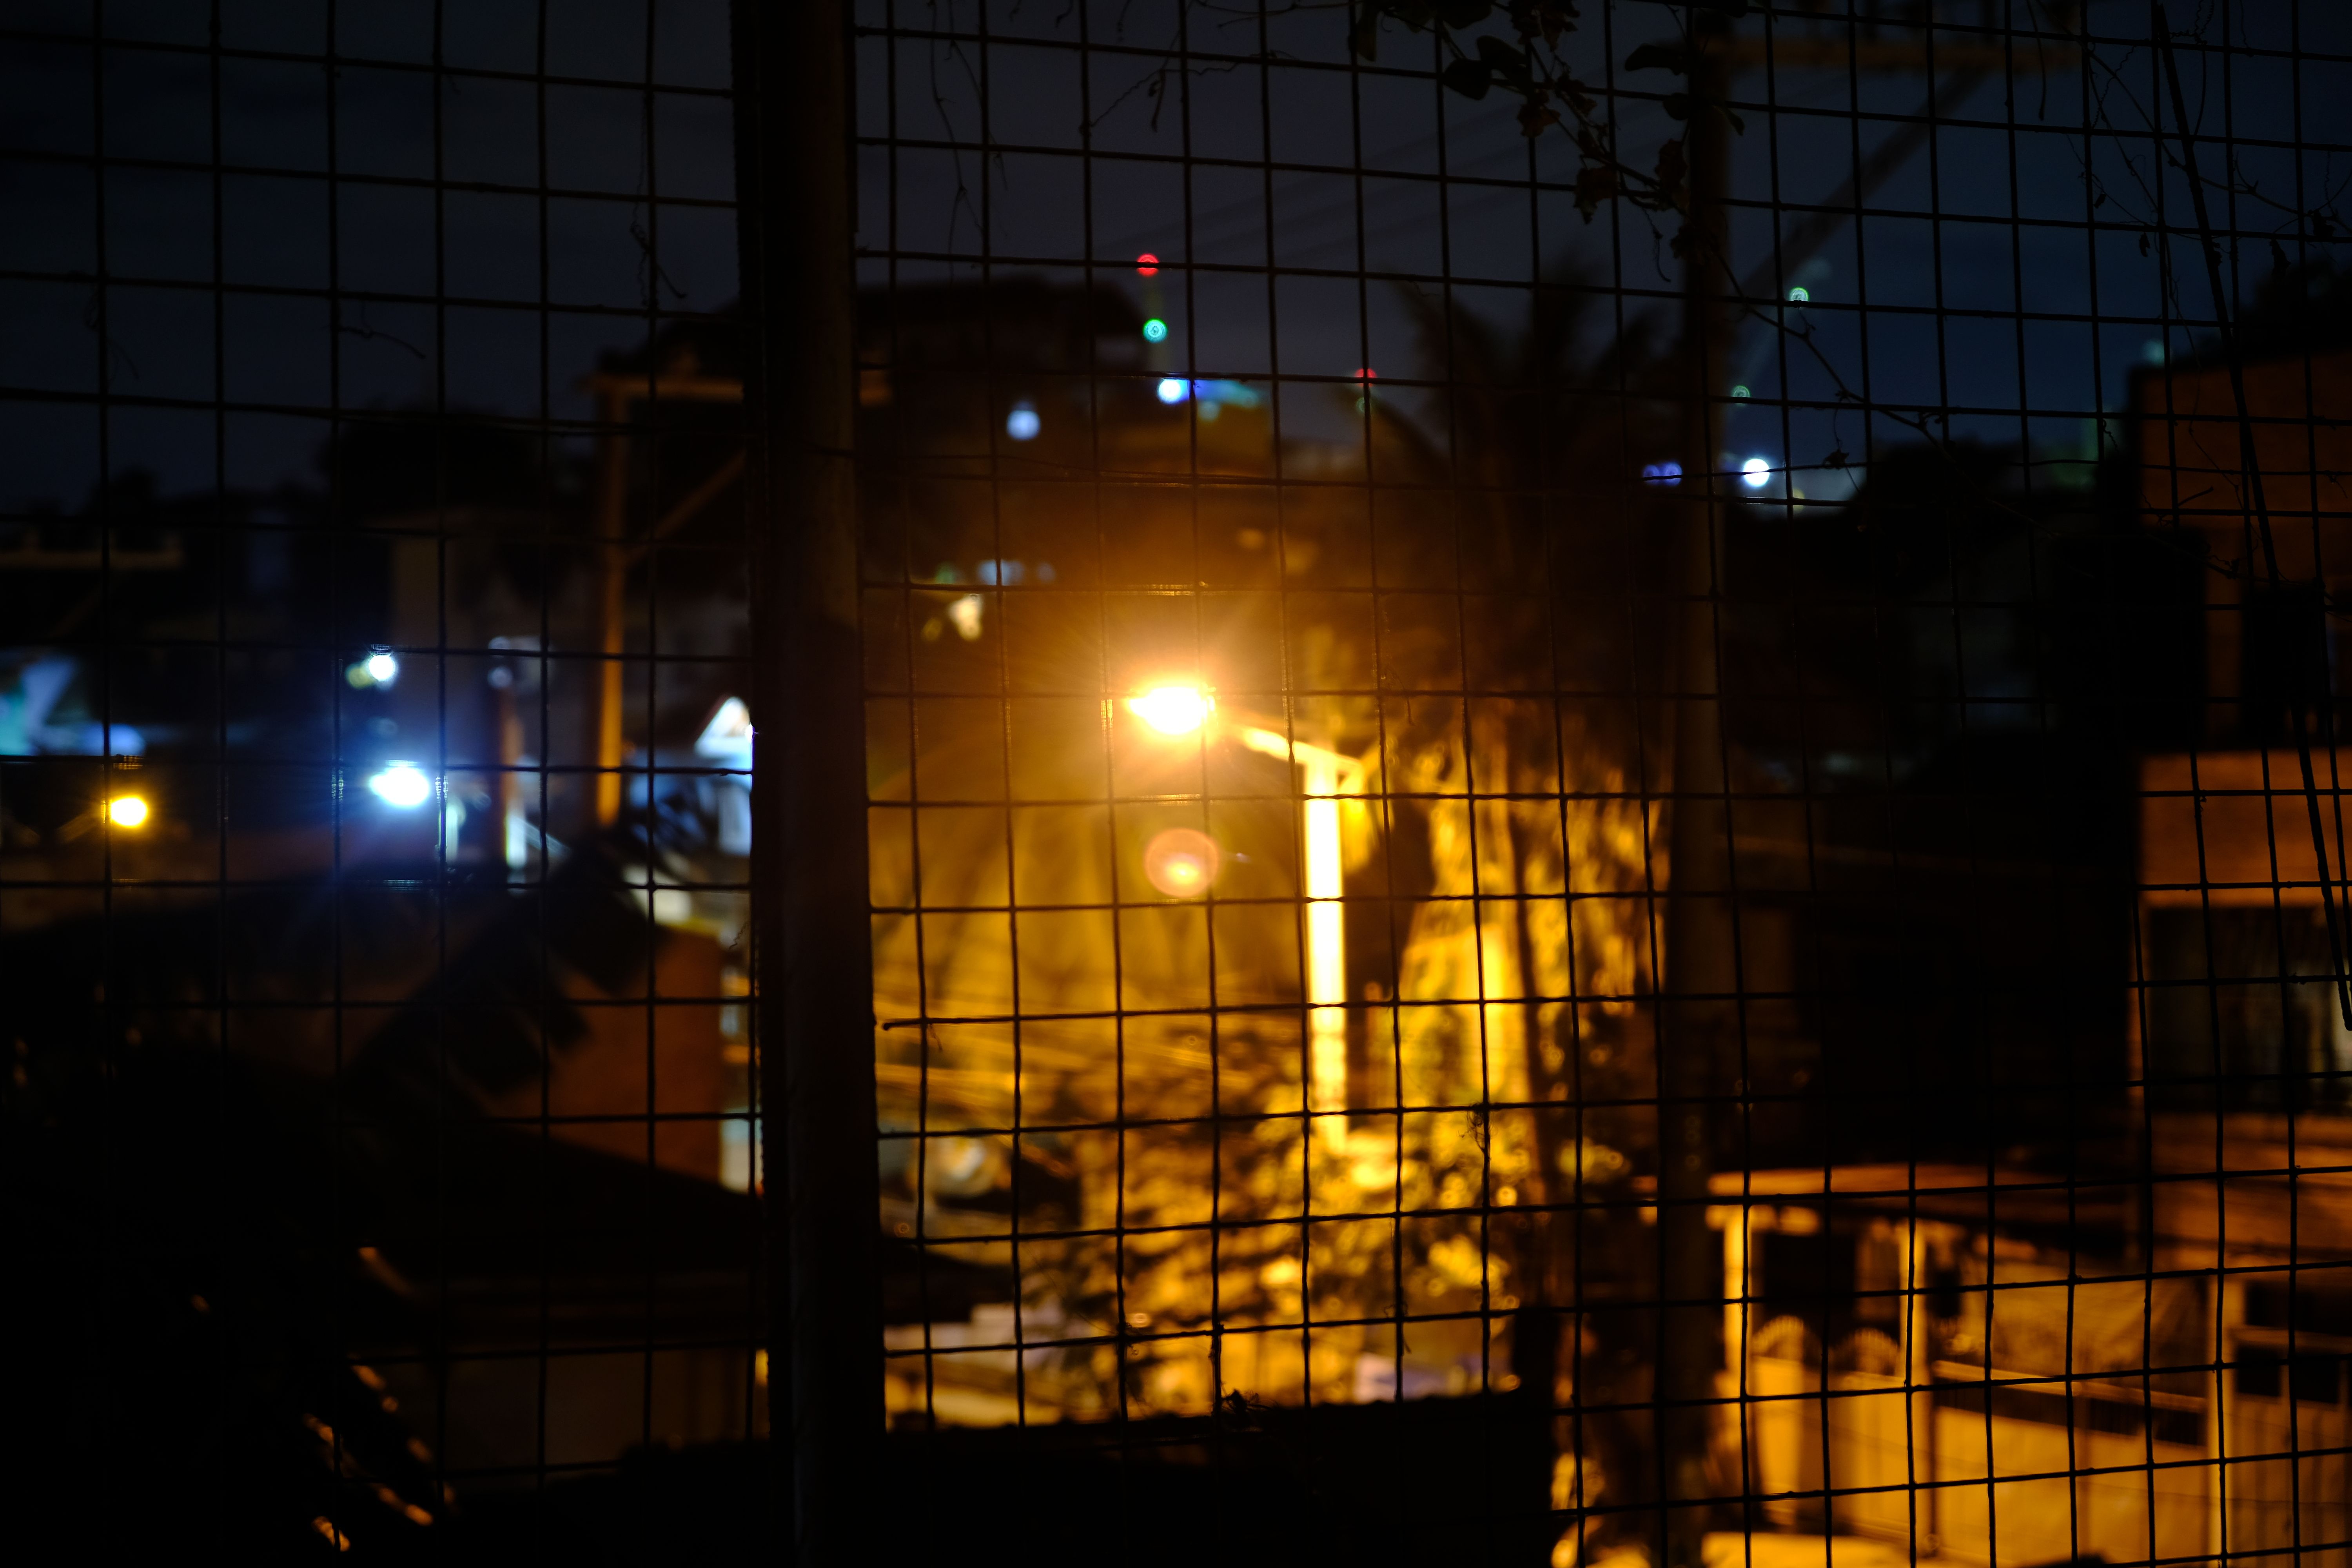
Next up is a fence photo again, but this time shooting against the street lights and posts:
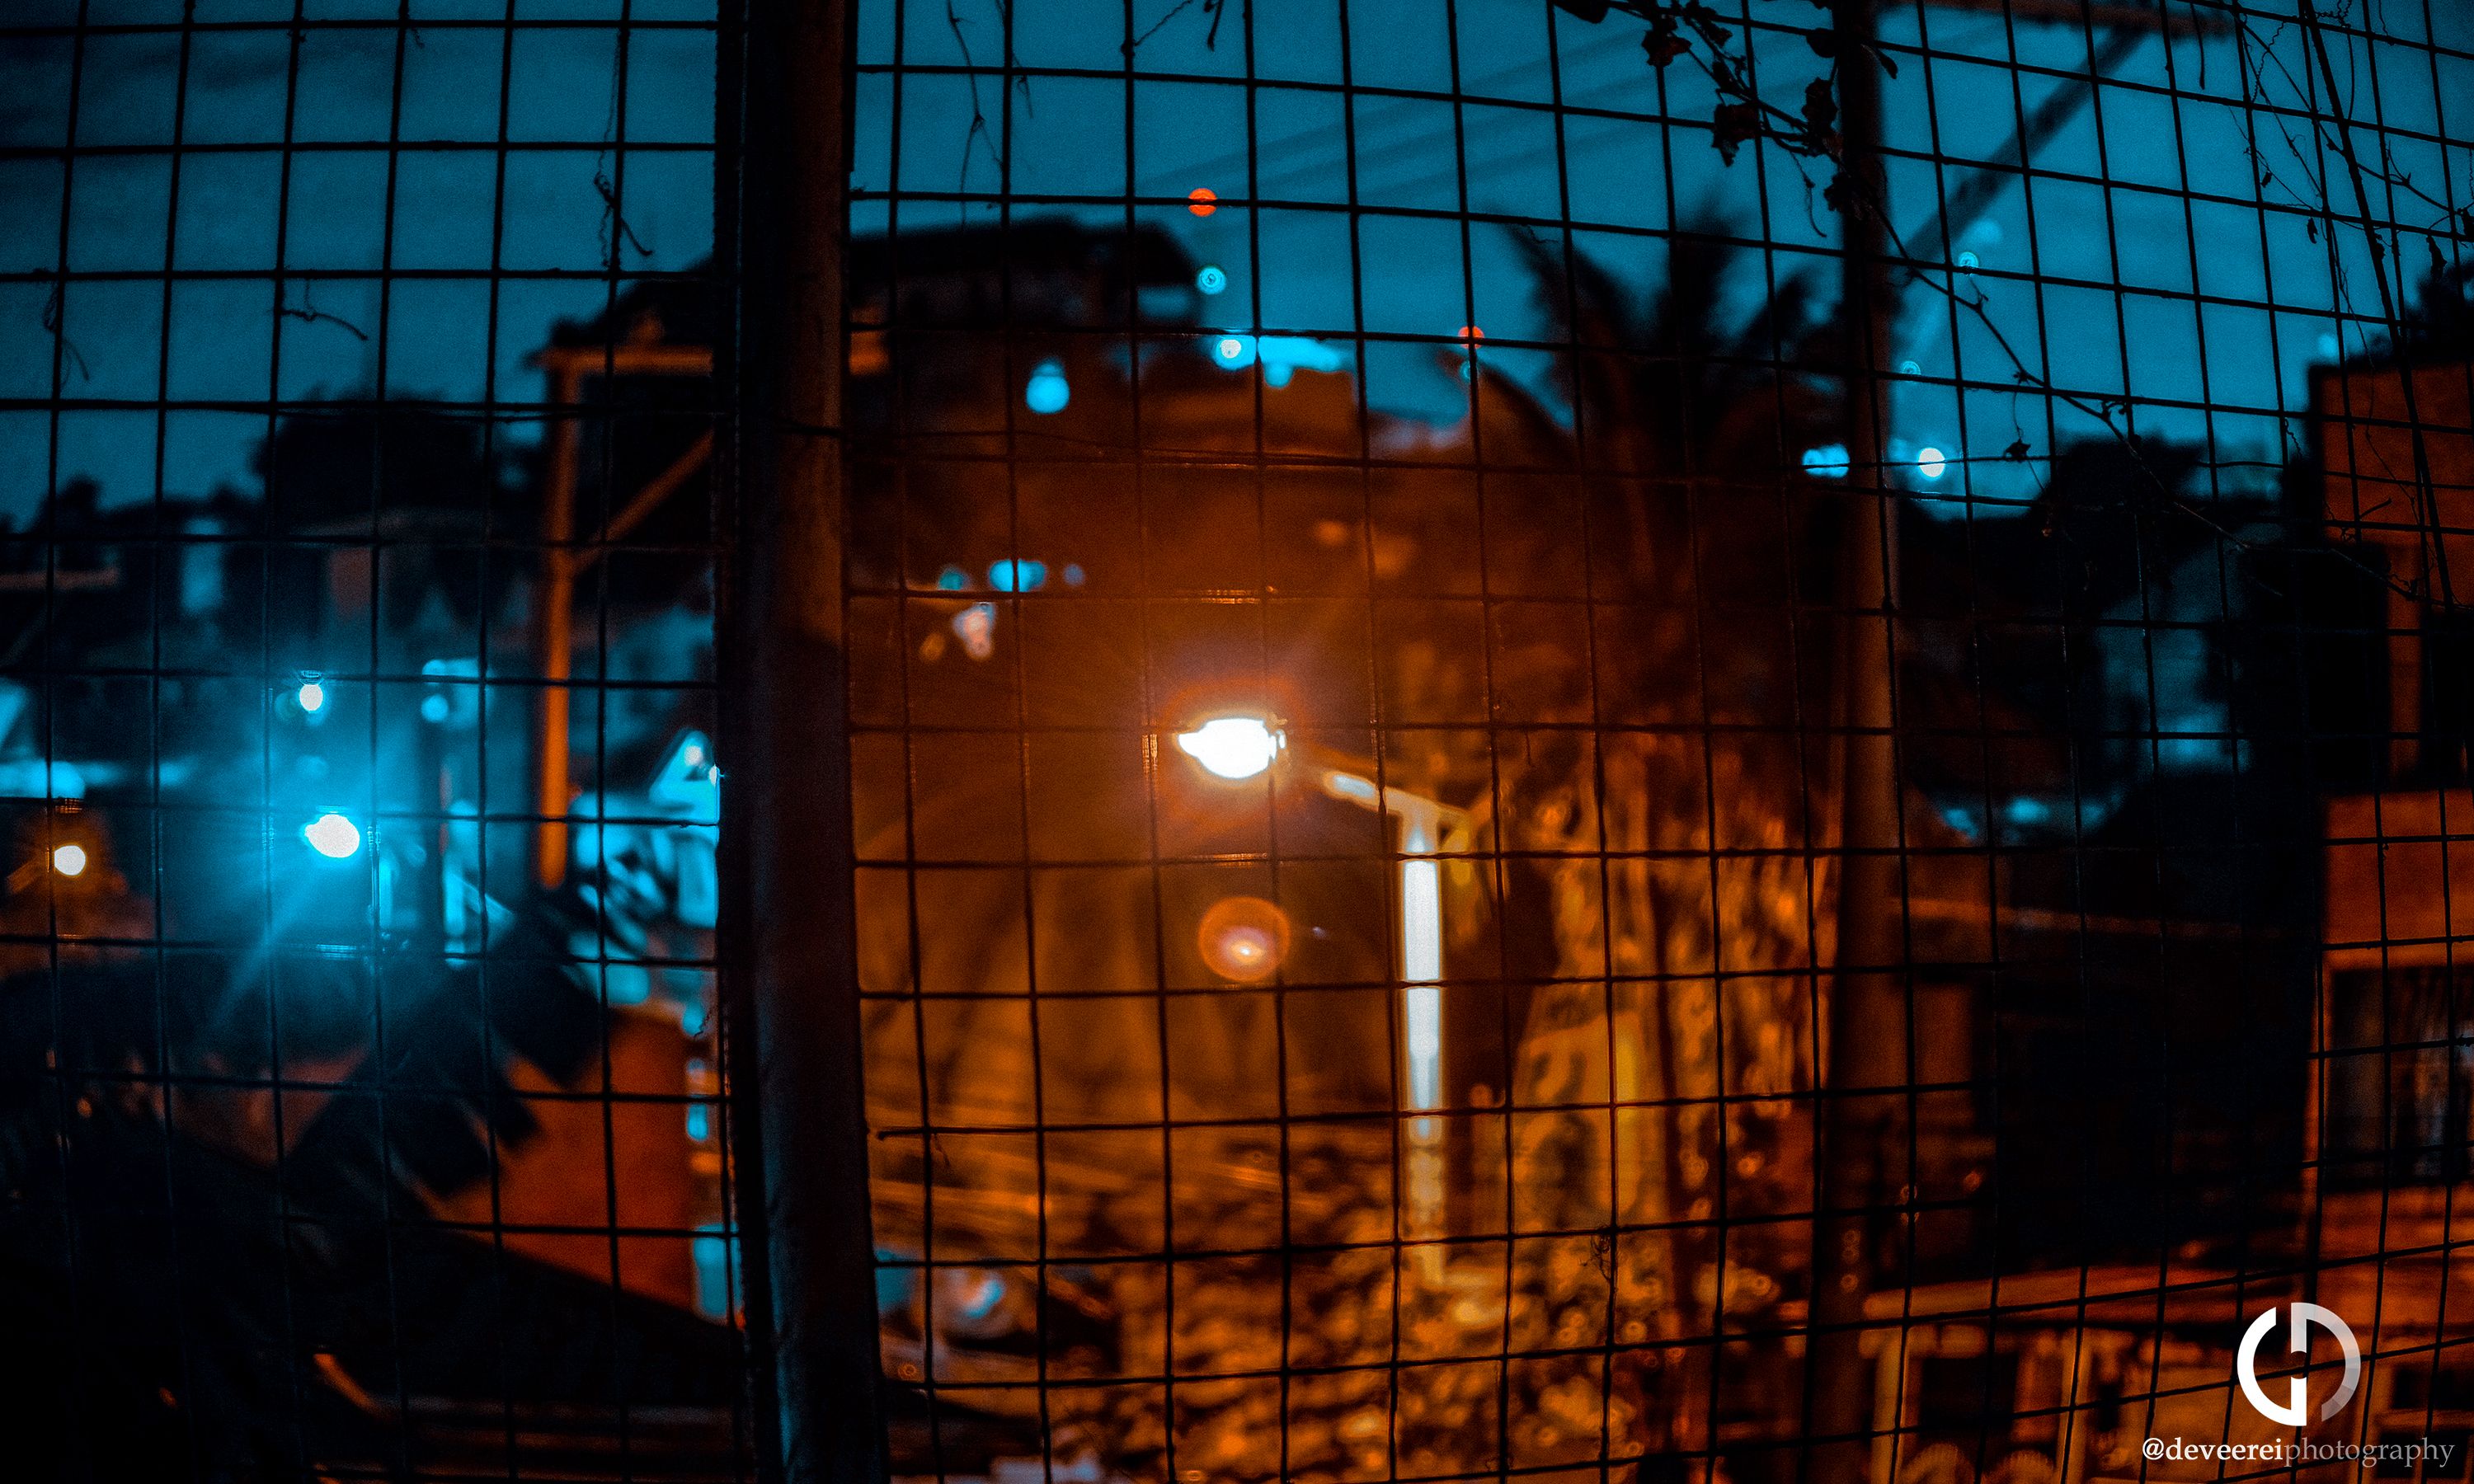
And this is what it looked light before all the exposure and tone fixes, lens distortion and edits on the colors:
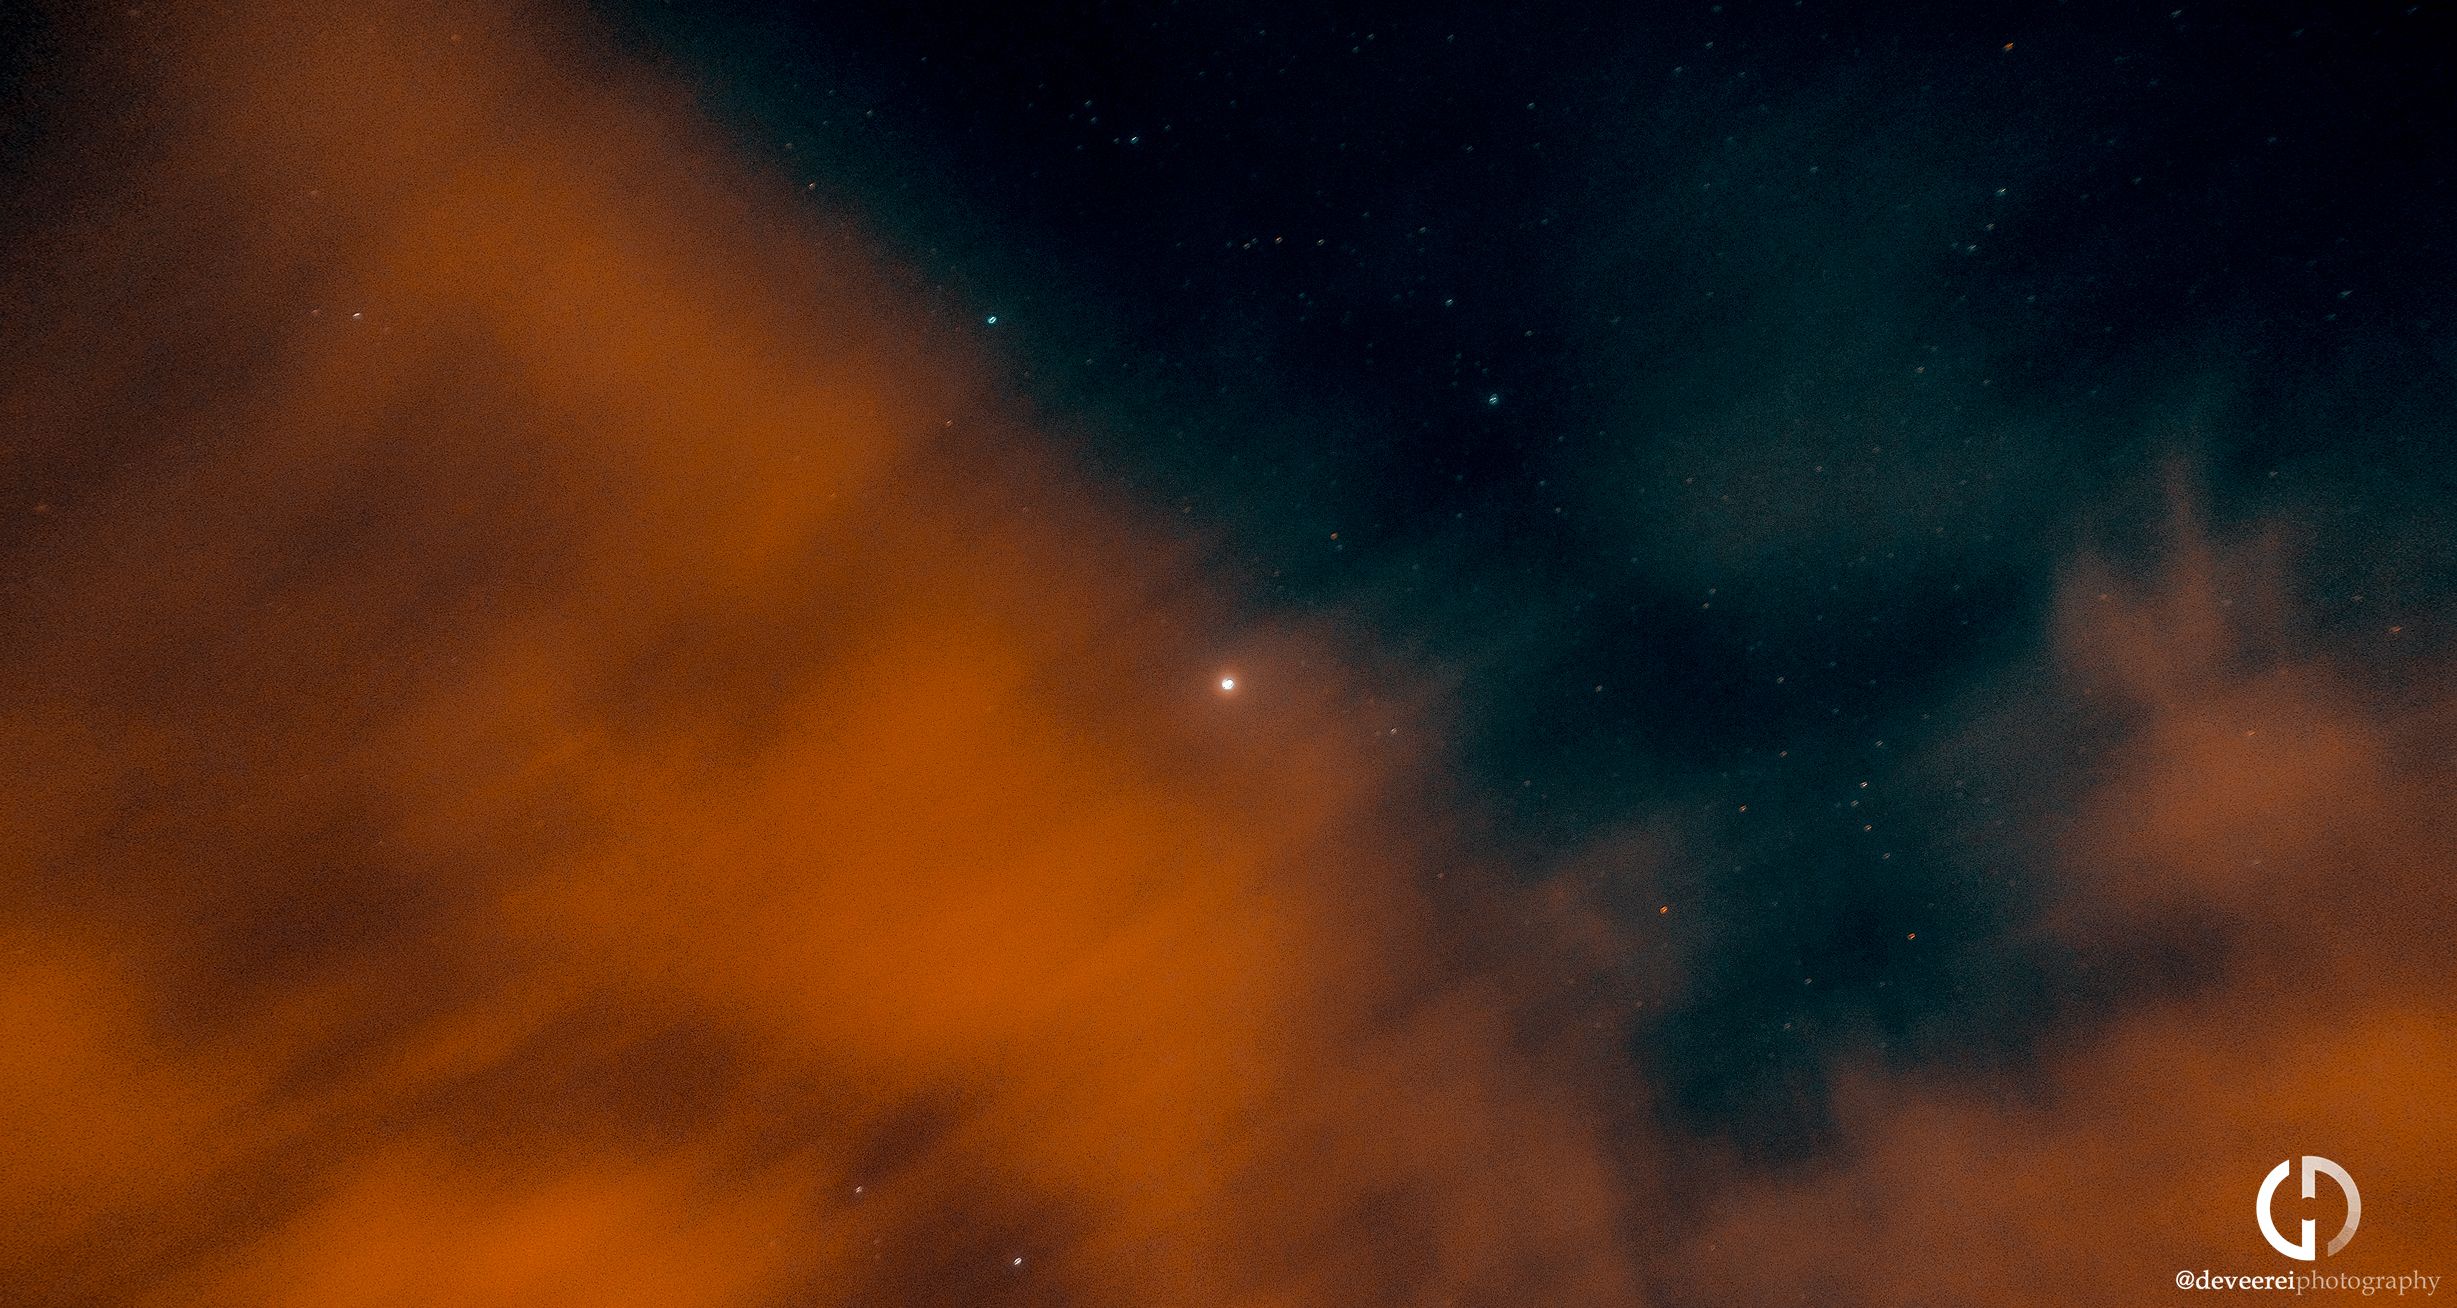
I have also tried Astrophotography, tried to capture the stars here. Set up a tripod and 15-20 second exposures, pointed it up to the sky and hoped for the best. Then applied Orange and Teal to it:
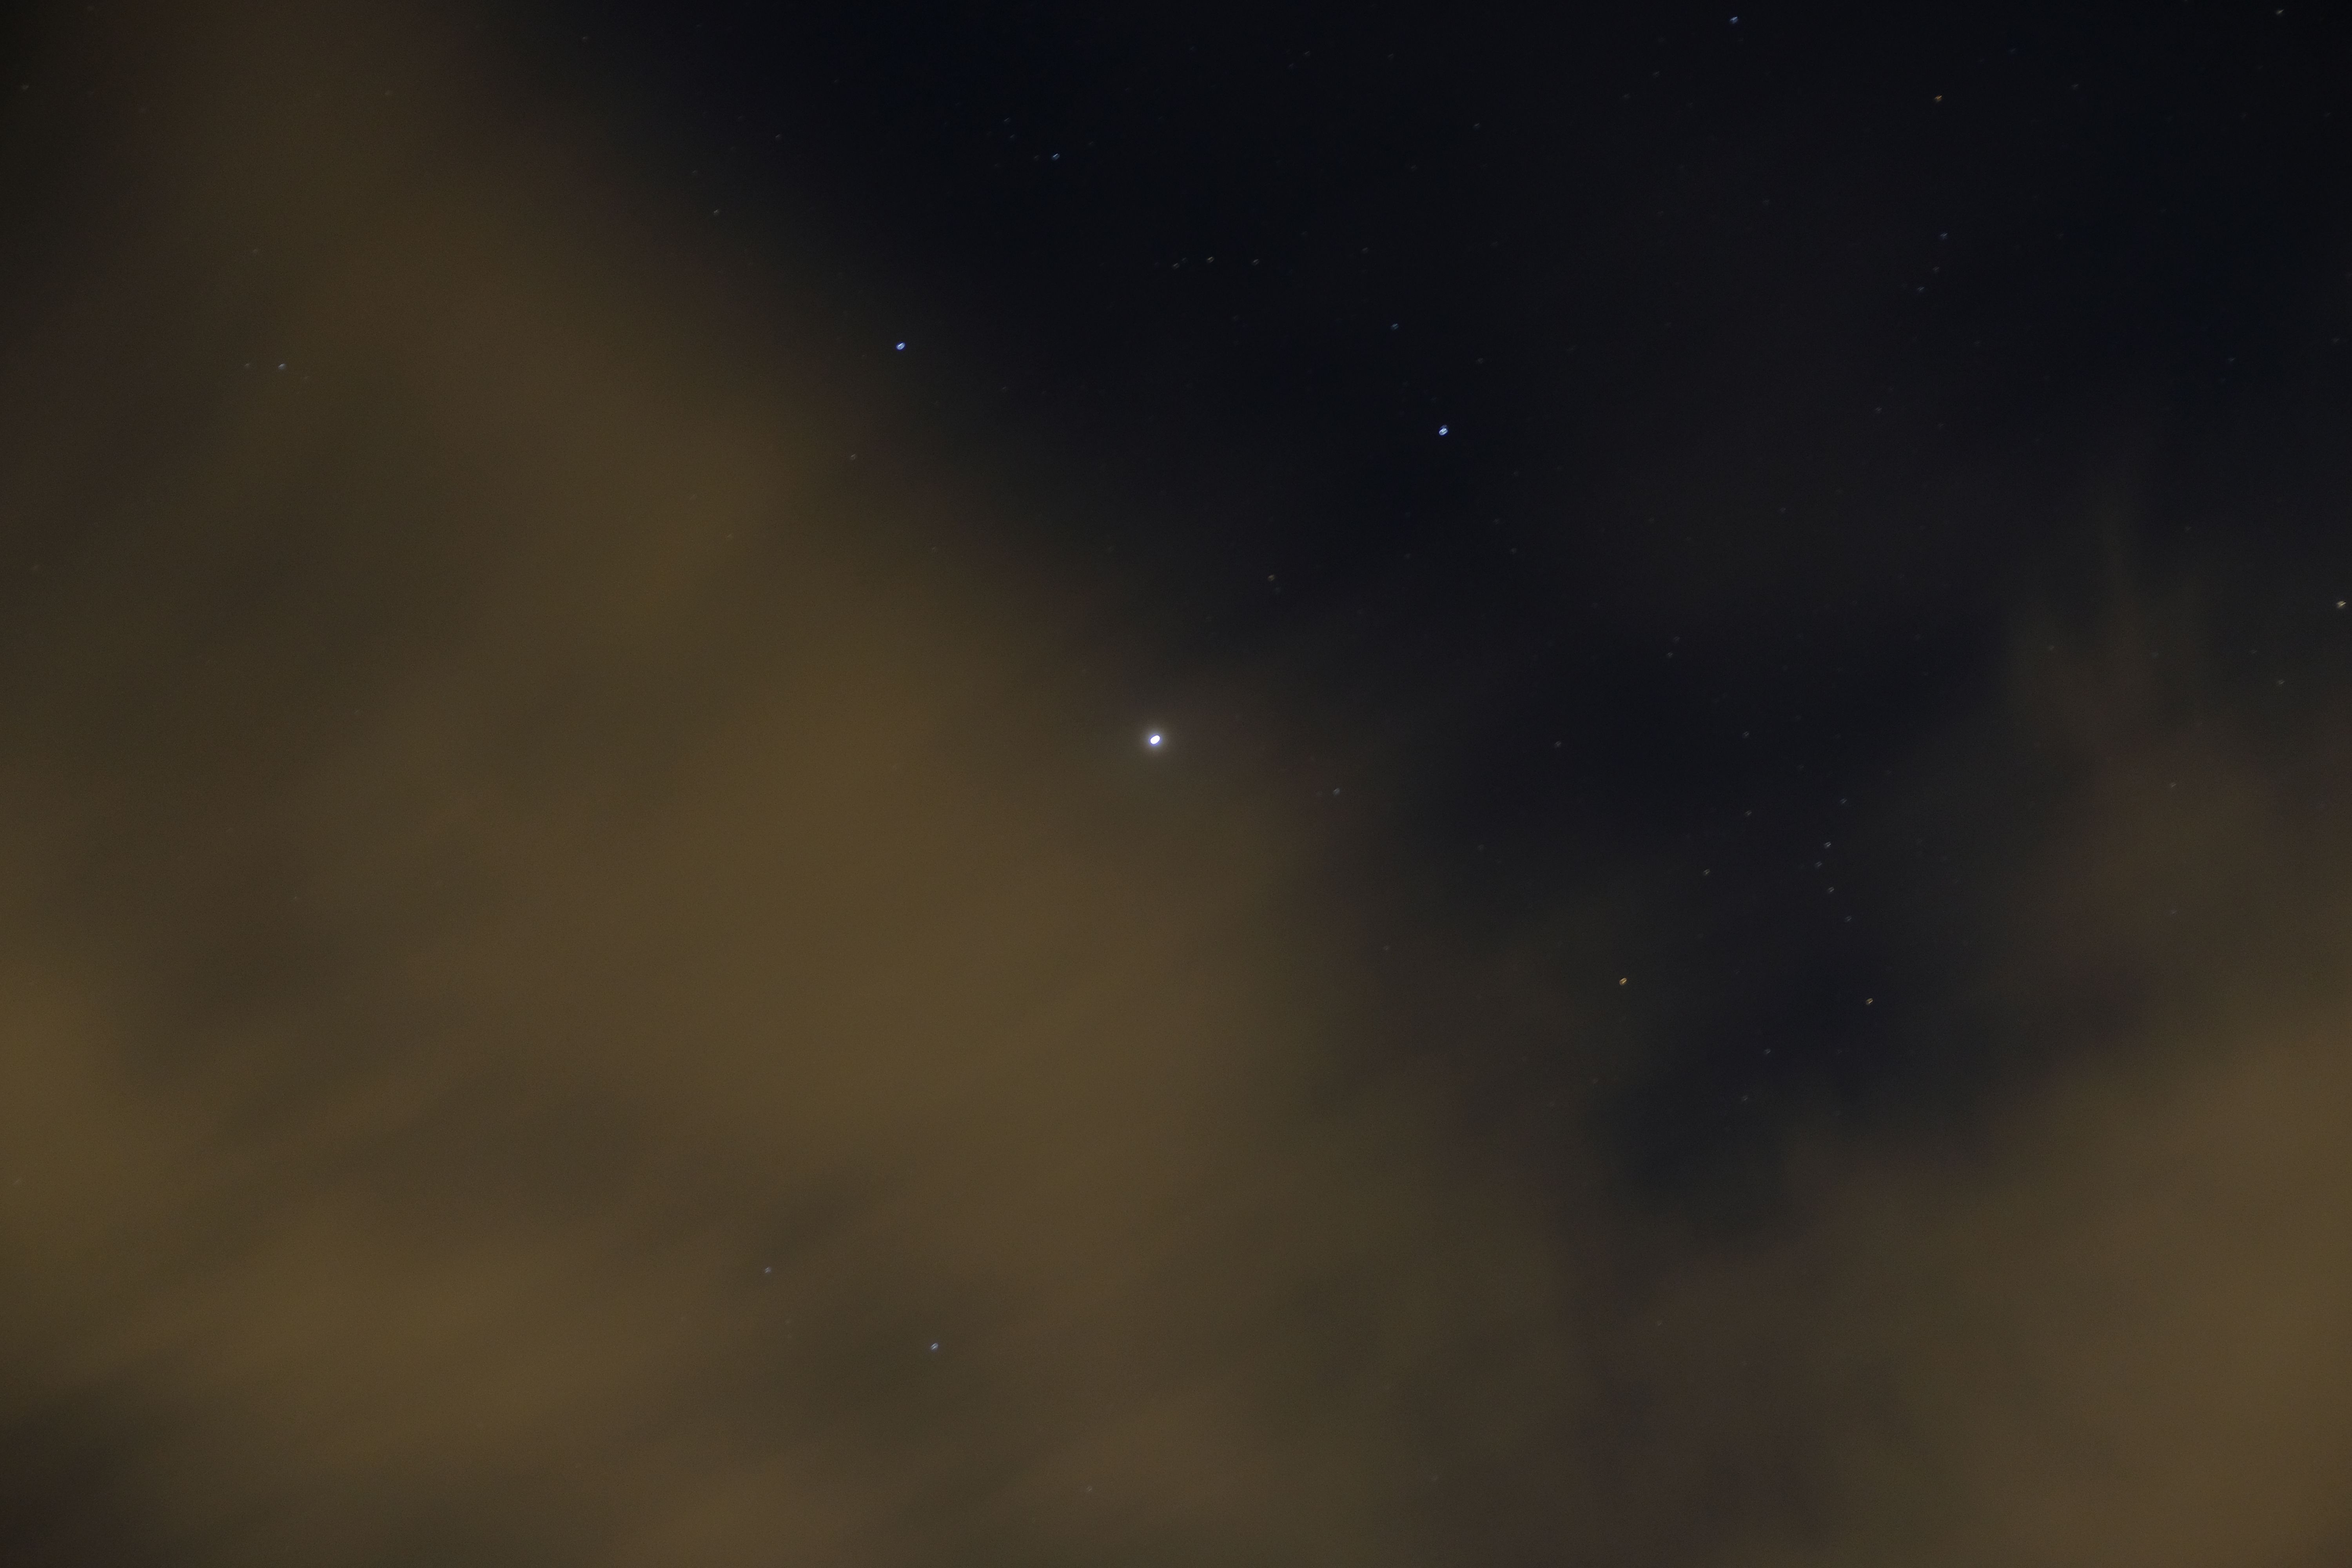
Here's the before photo, sky was too cloudy for me to see more stars.
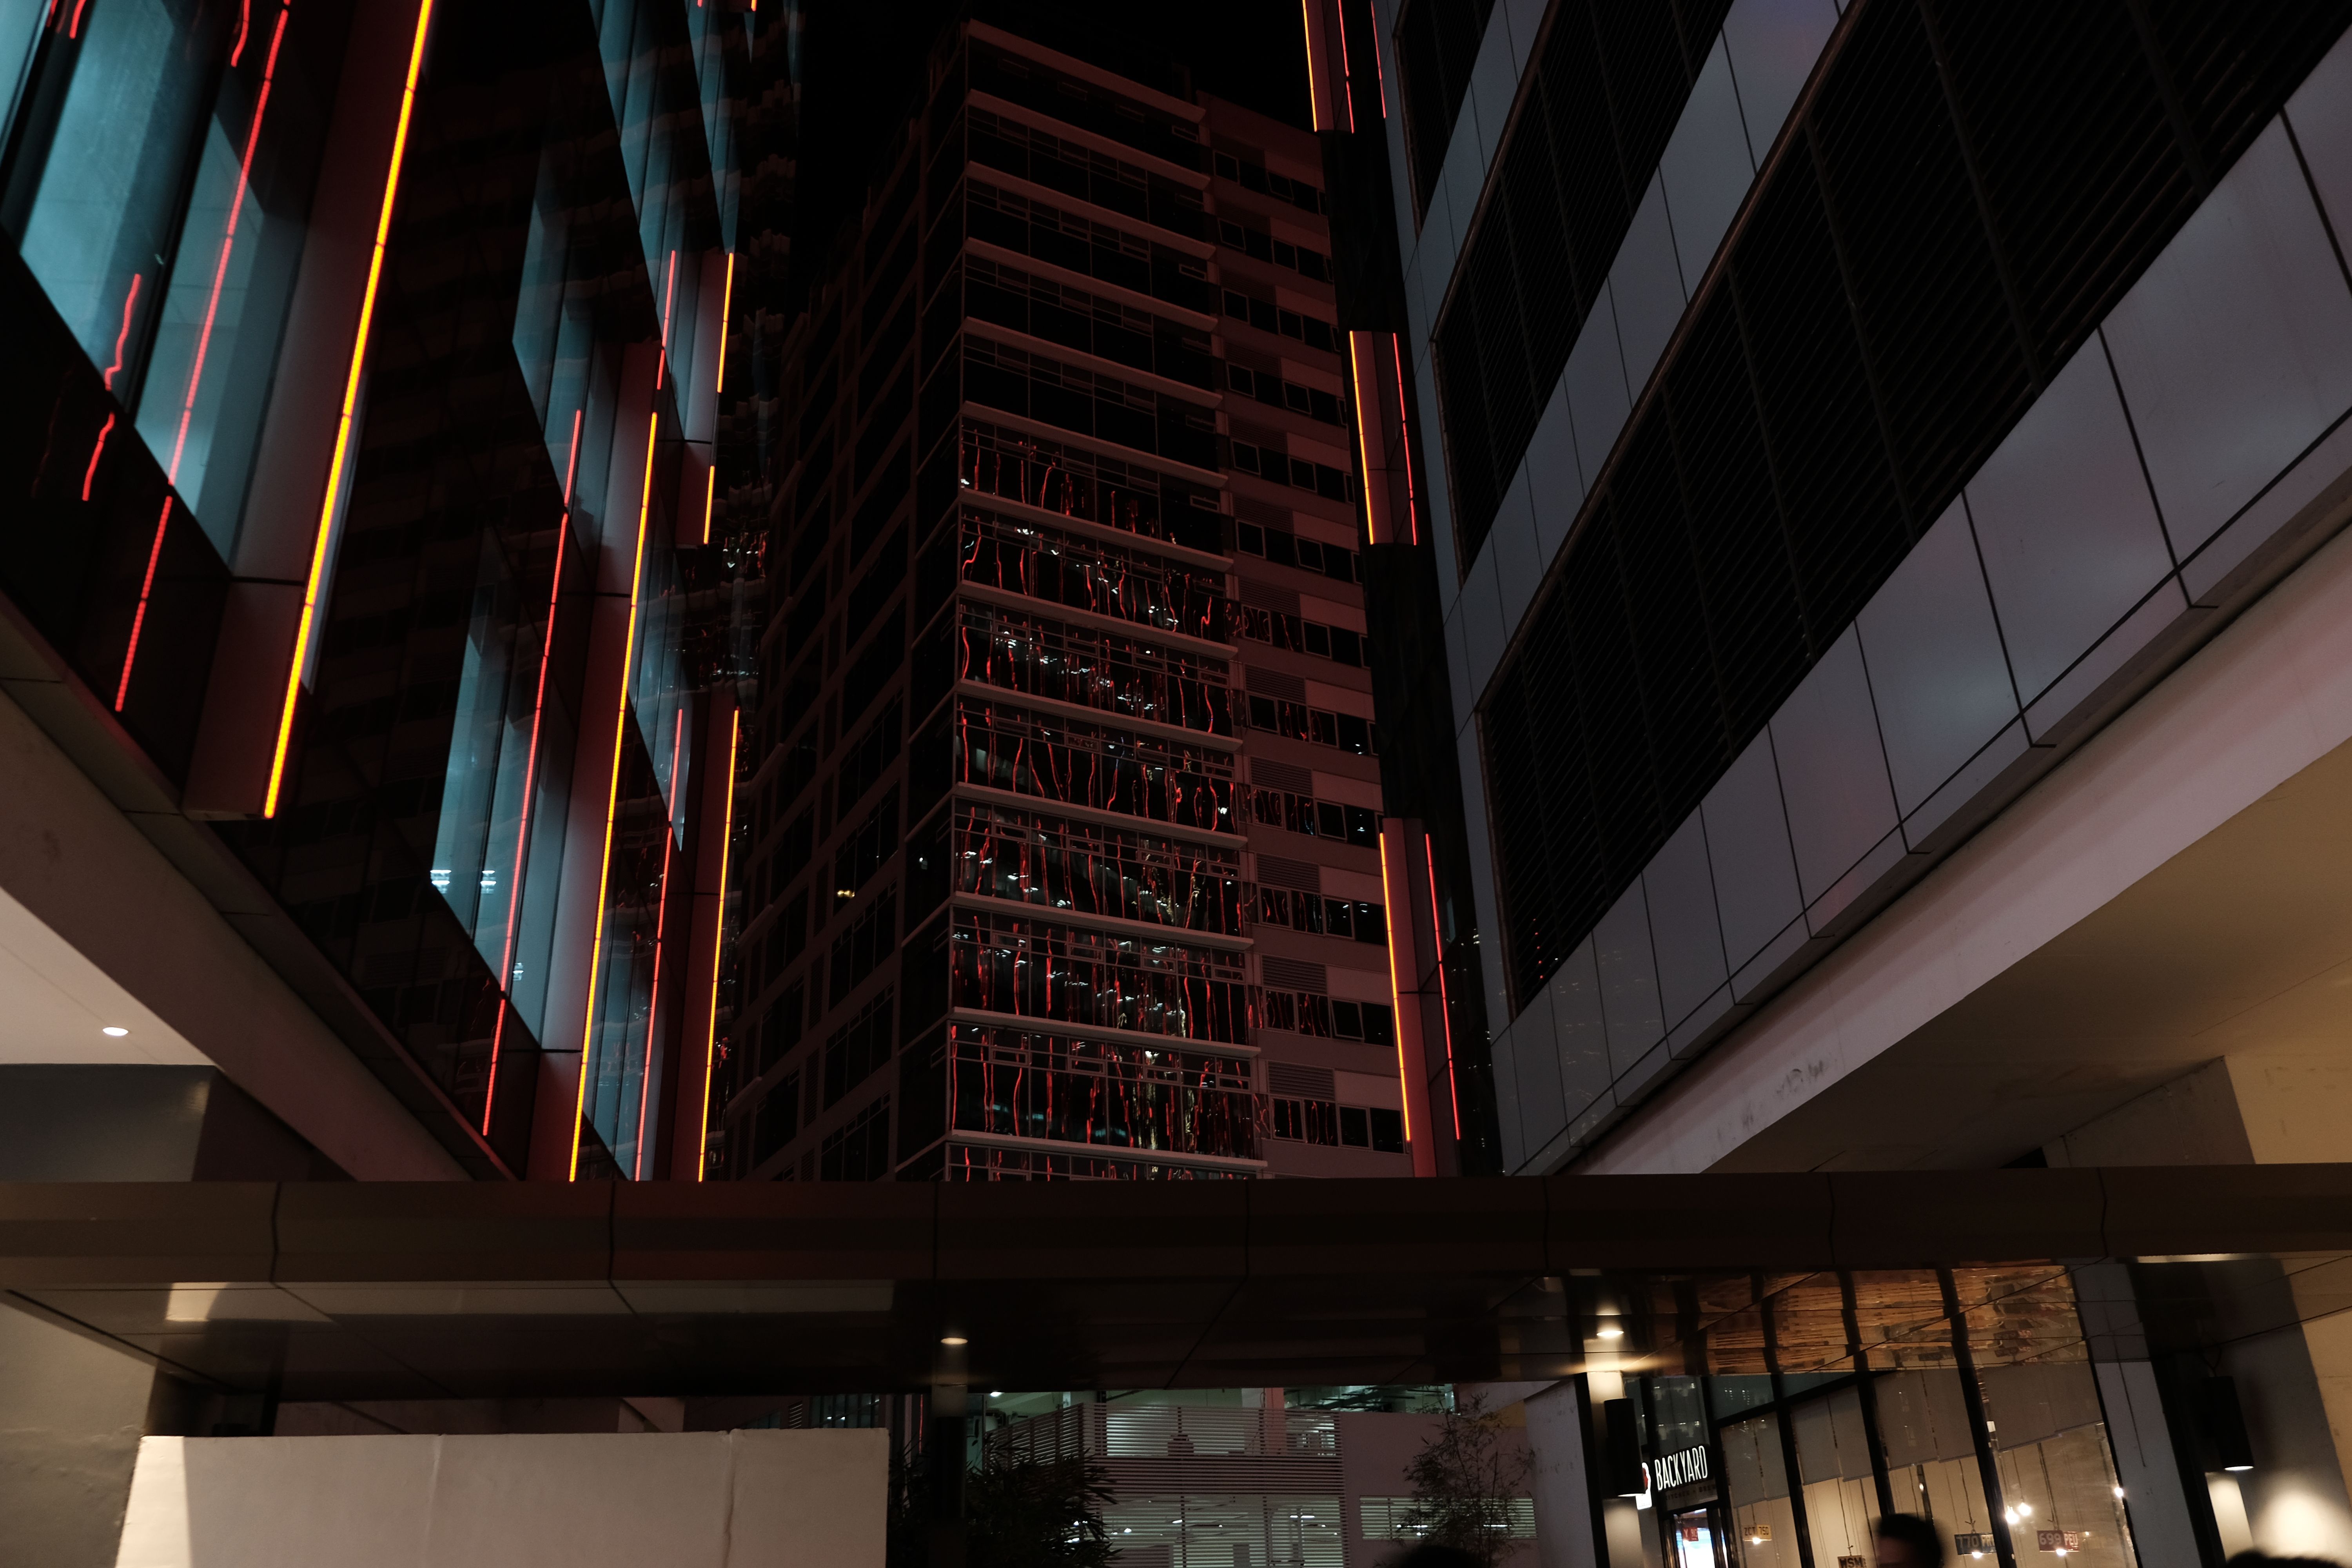
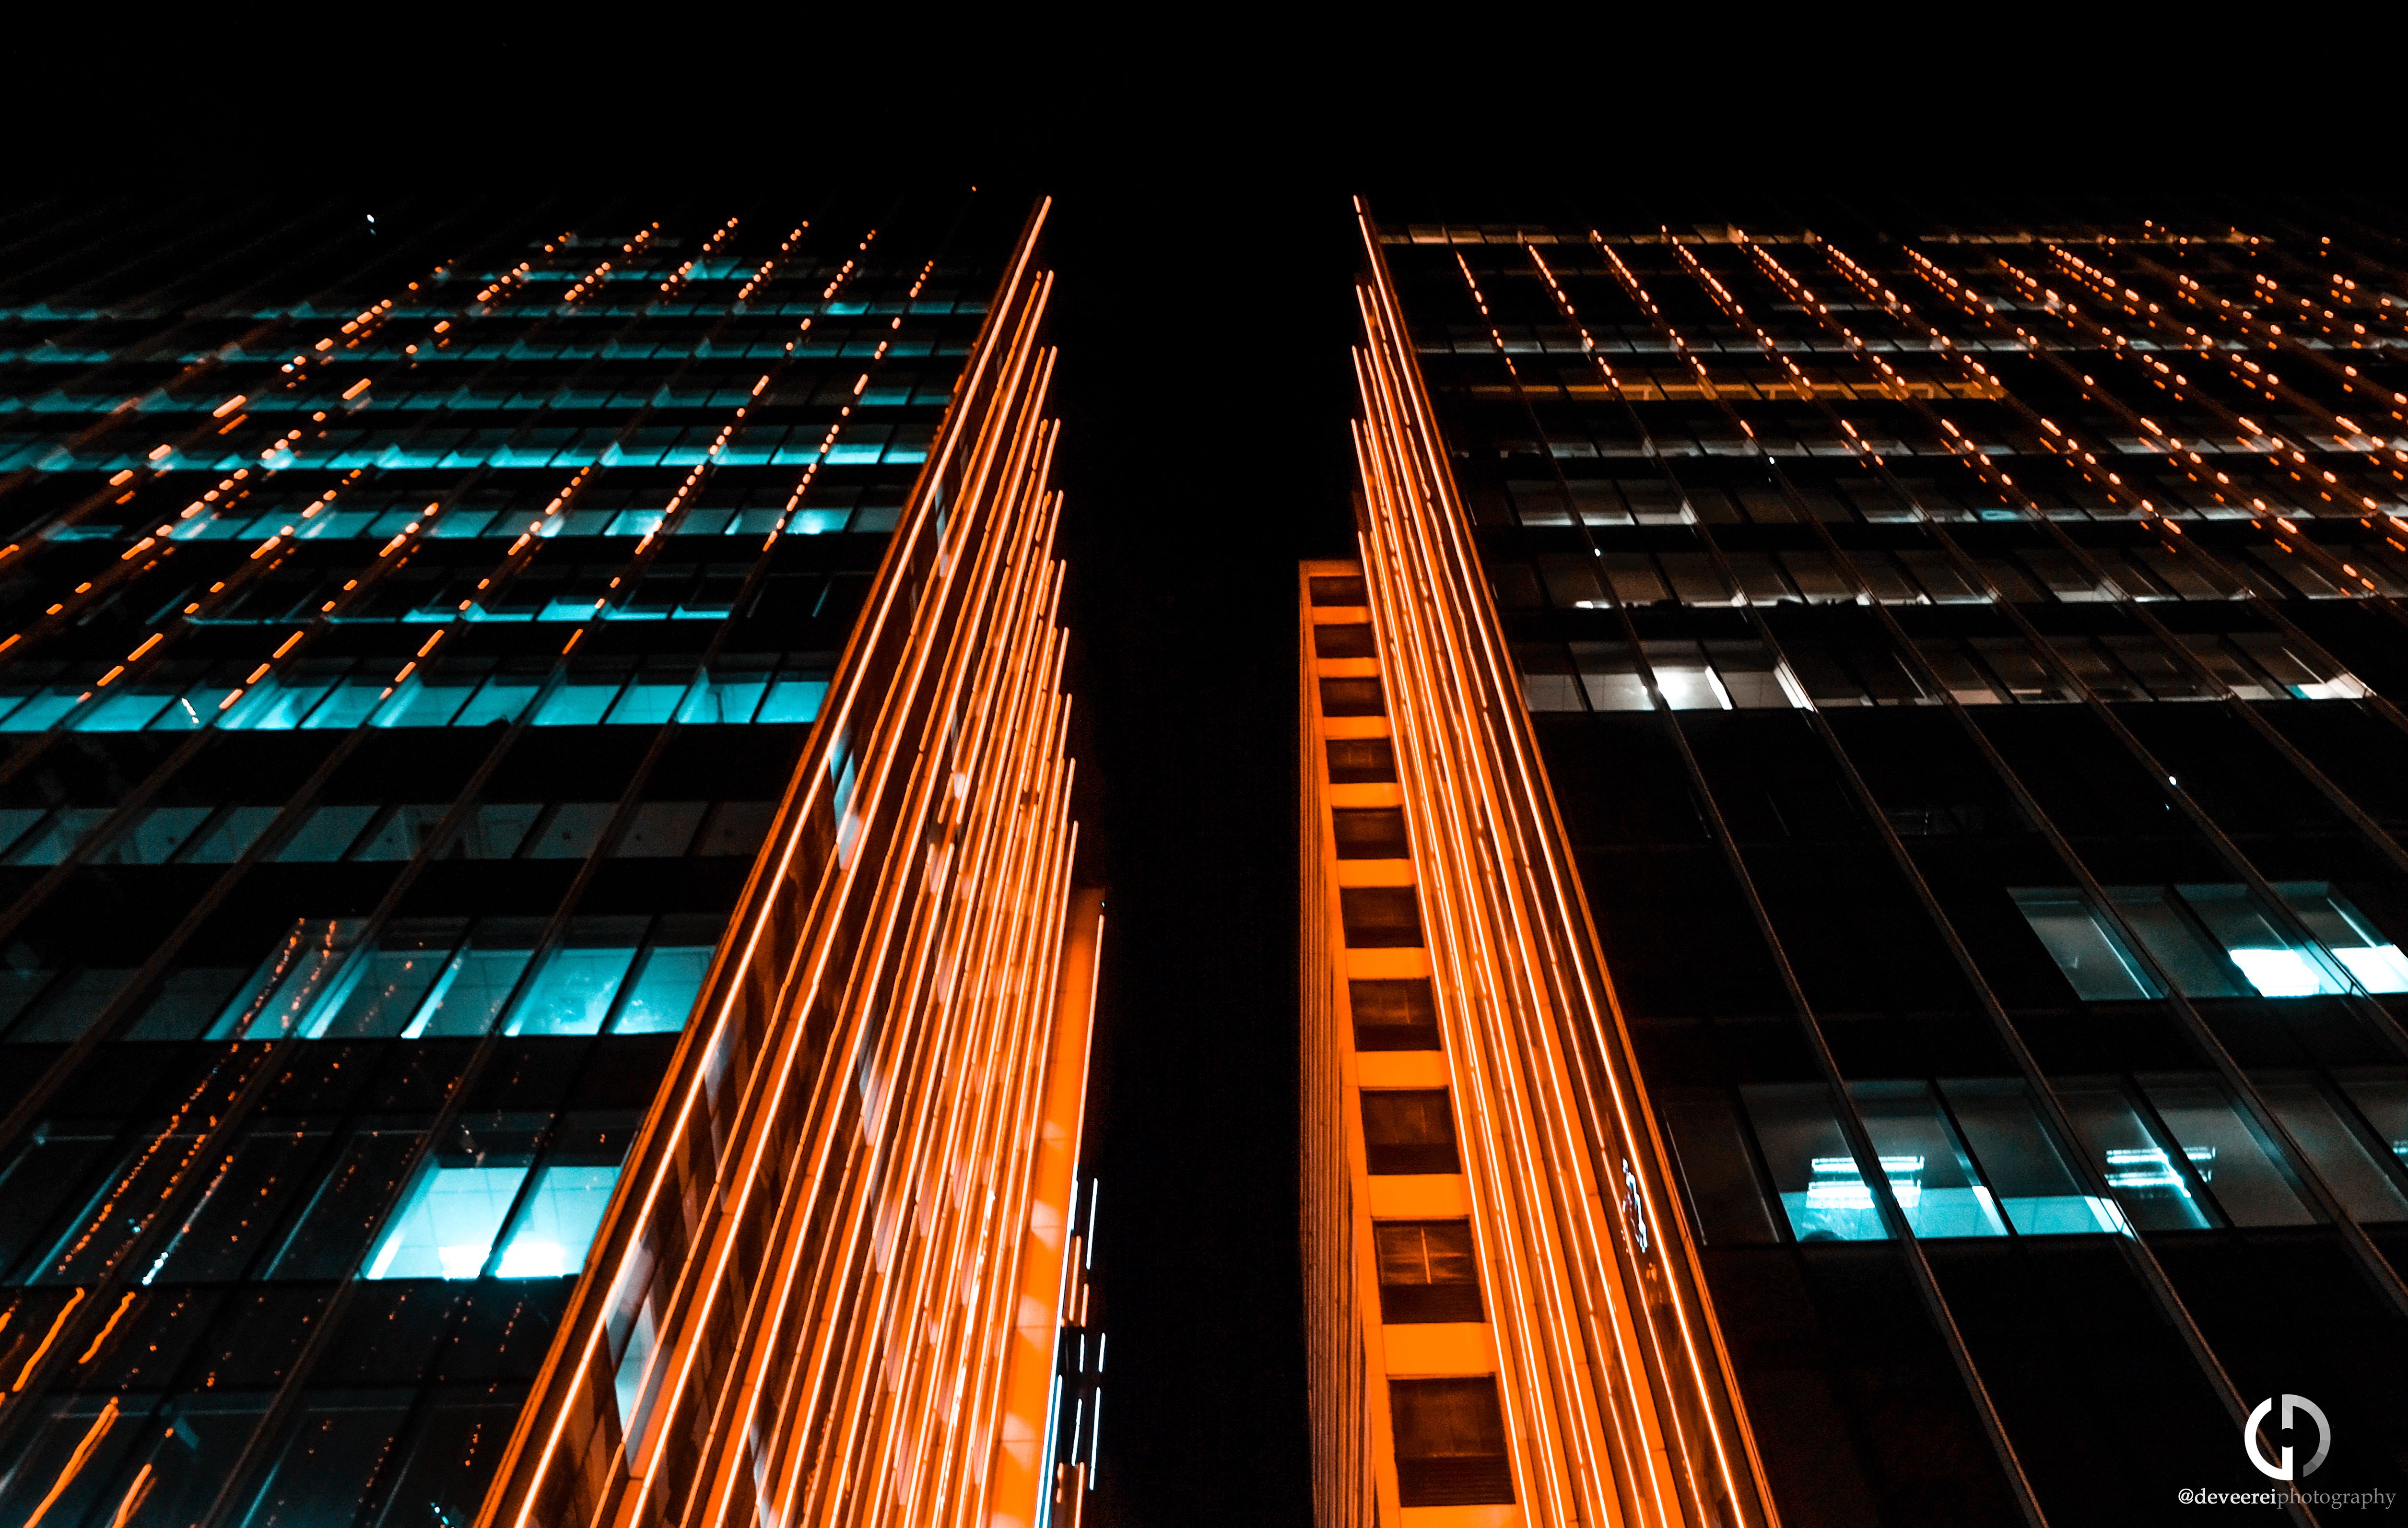
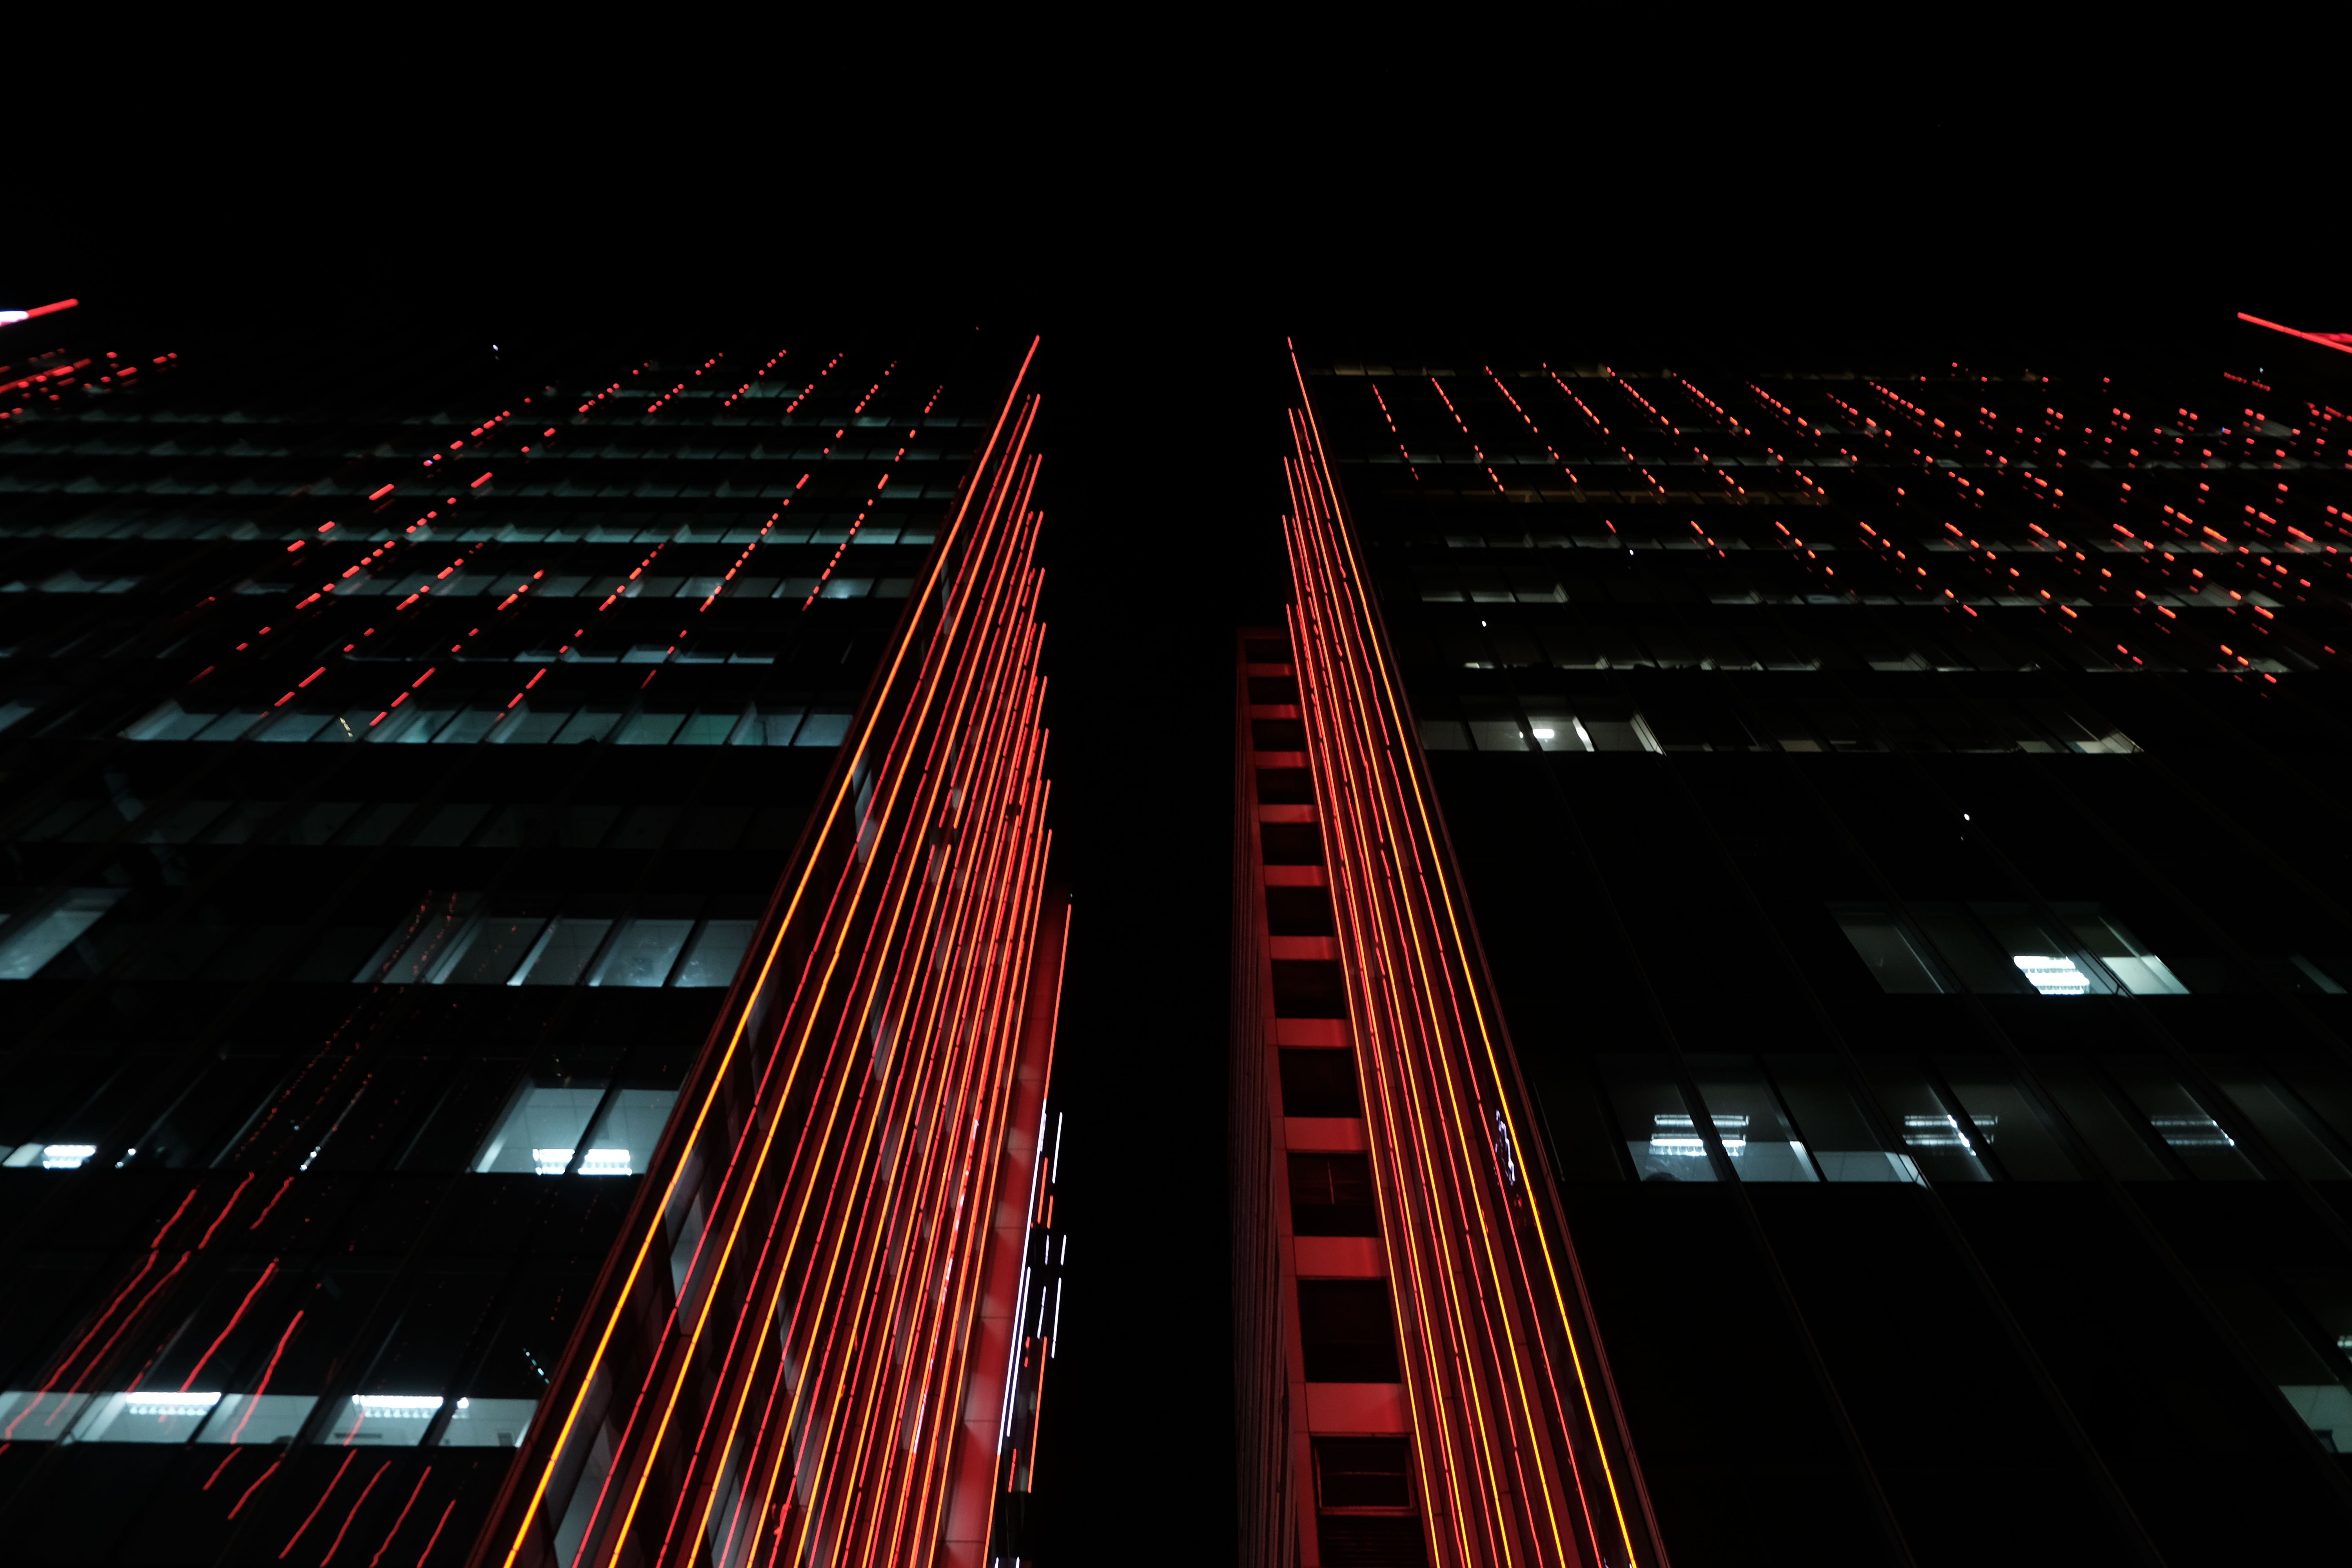
Right after we purchased the X-T20 camera I tested it out on some buildings, the mall we were in had an awesome display of LED lights so I tried photographing that too.
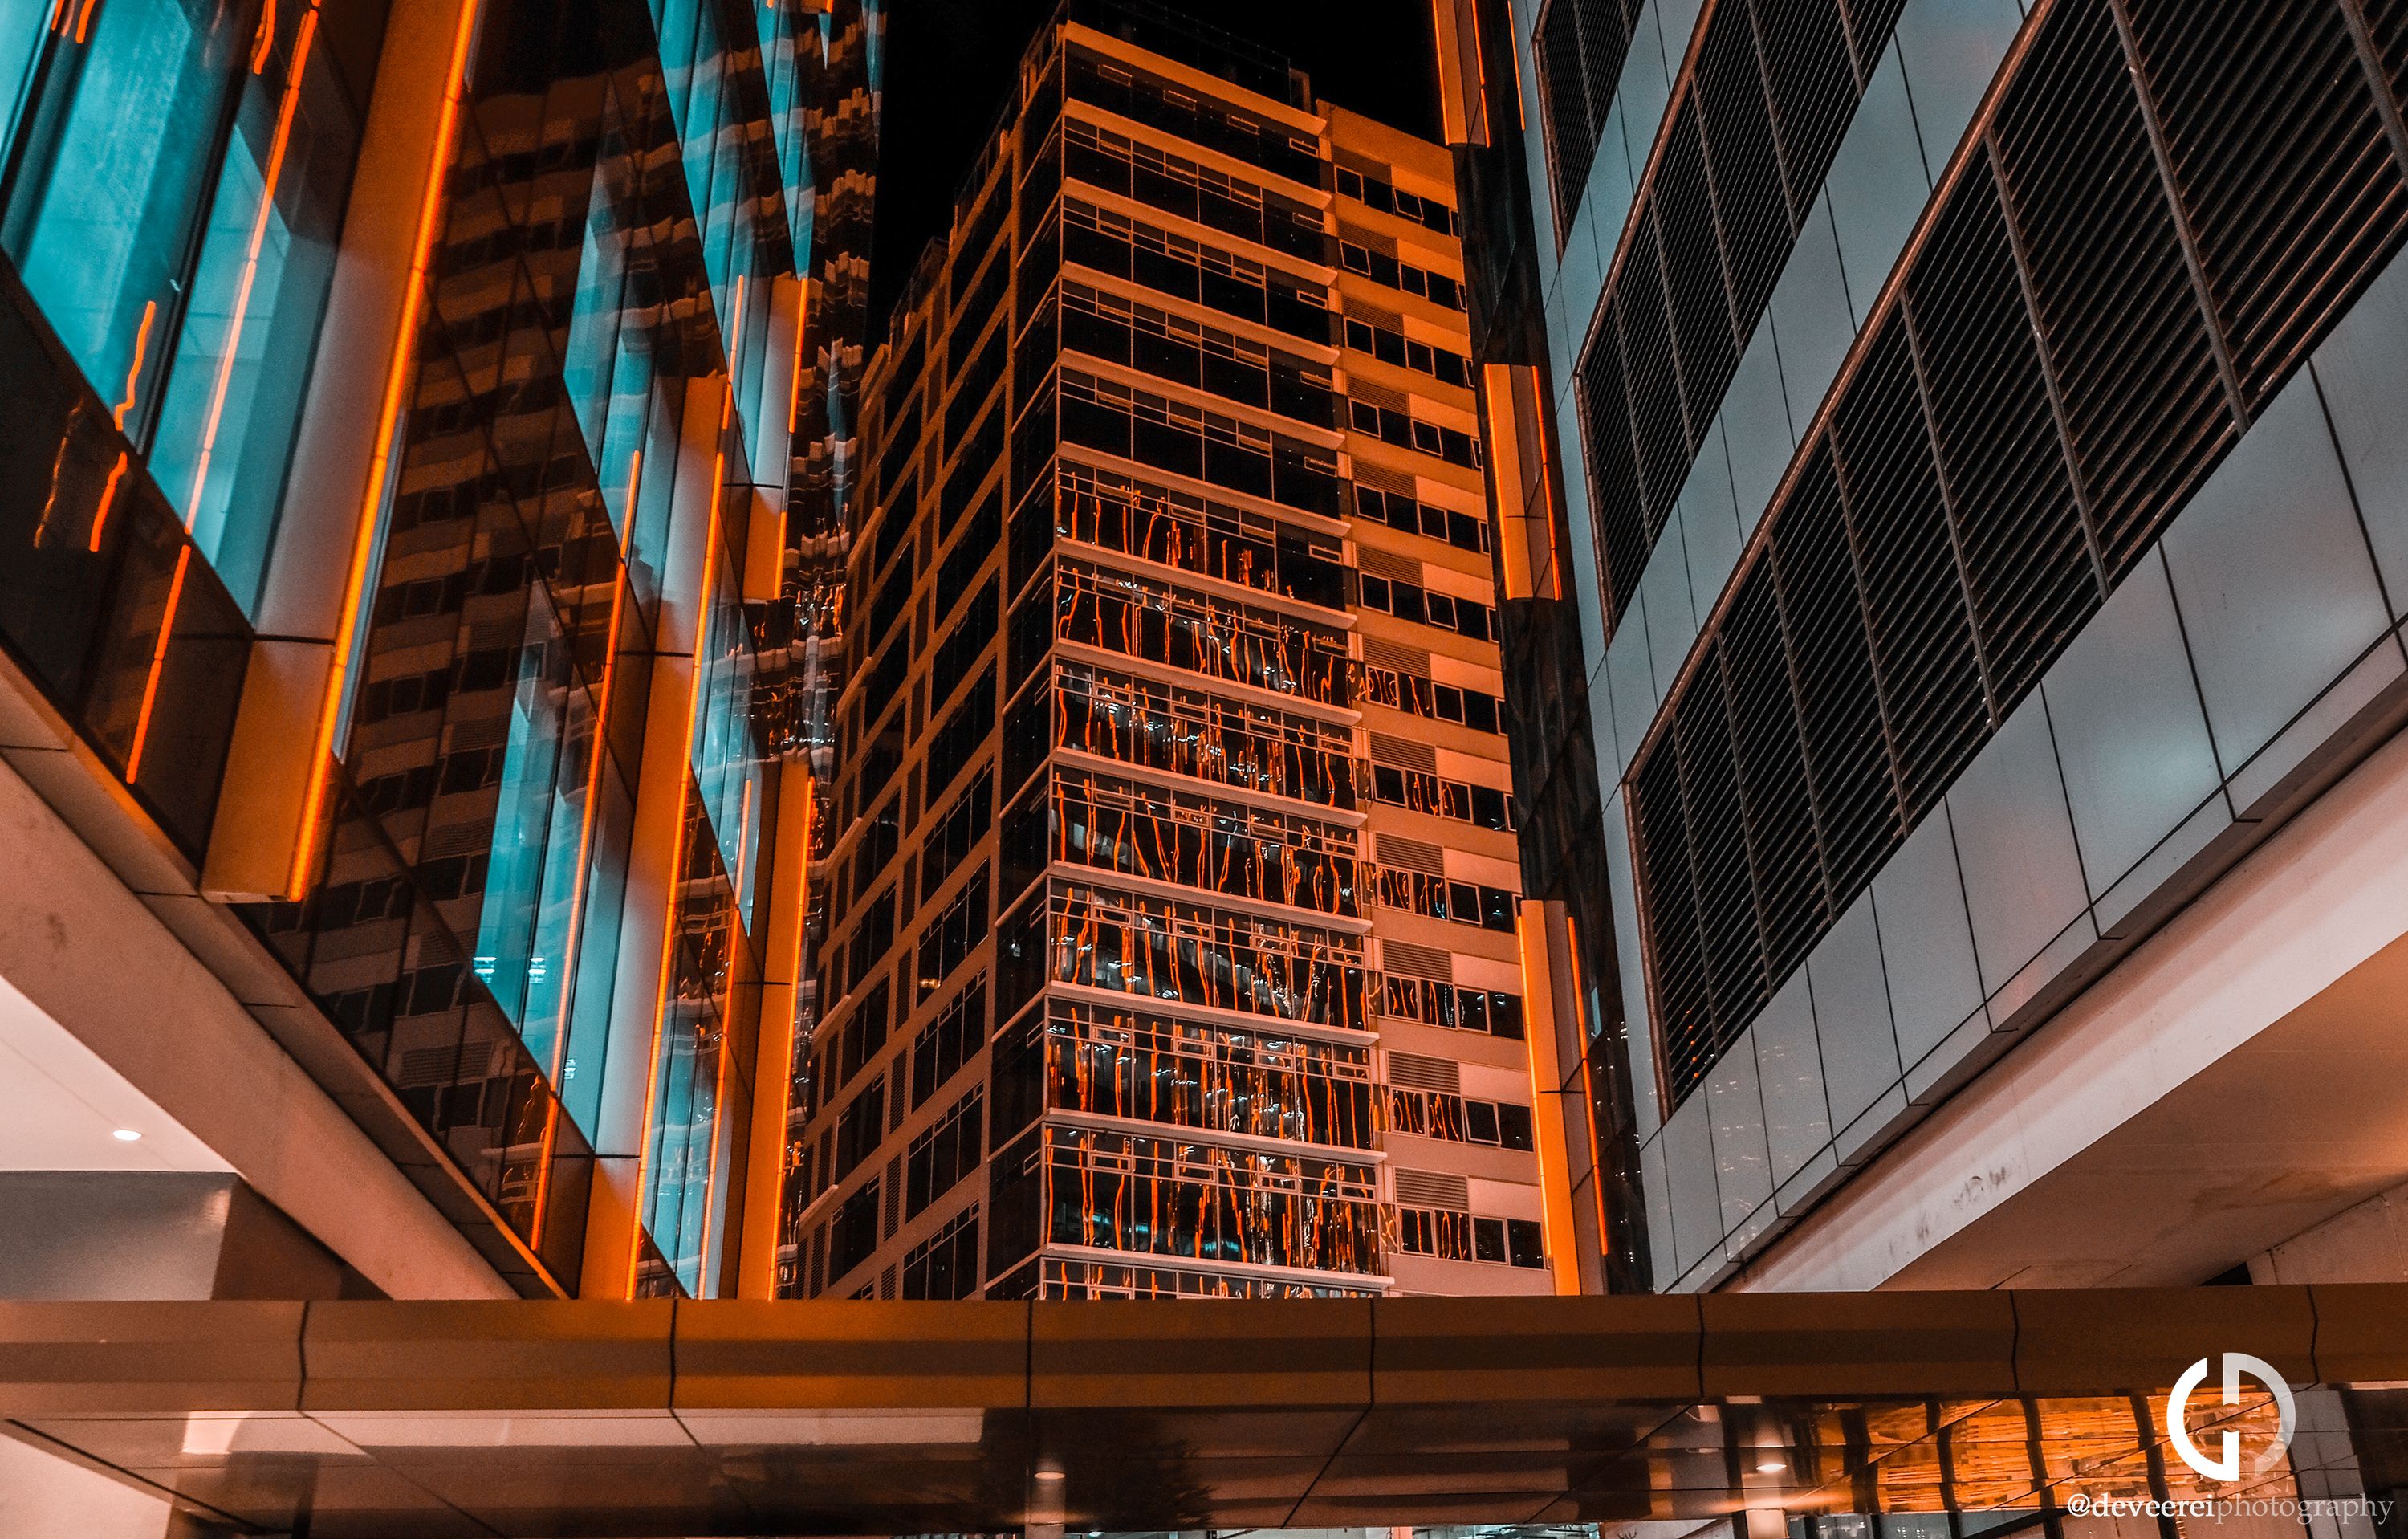
What you see here is a different building though, it just reflects and distorts the lines of LED lights covering the buildings were in.
Here's an actual photograph of the buildings in the mall were in. It was in the middle of transitioning between showing heart shapes and spelling out the word LOVE.
They were doing this on the LED lights cause it was almost Valentine's Day. They actually change the displays everytime there's an occasion. It's a really fun thing to watch and take pictures of. The best I've seen was their Star Wars display, but I don't have a photo of that.
That's it for now on this blog. I hope you liked my photographs. I'm gonna work more on them and on my post-processing skills as well. Thanks for dropping by!
)
)
)